"annaeivor.com"
Creating a web site was a part of my Frontend Development course. Thus, I decided to use my acquired skills and develop my portfolio website.
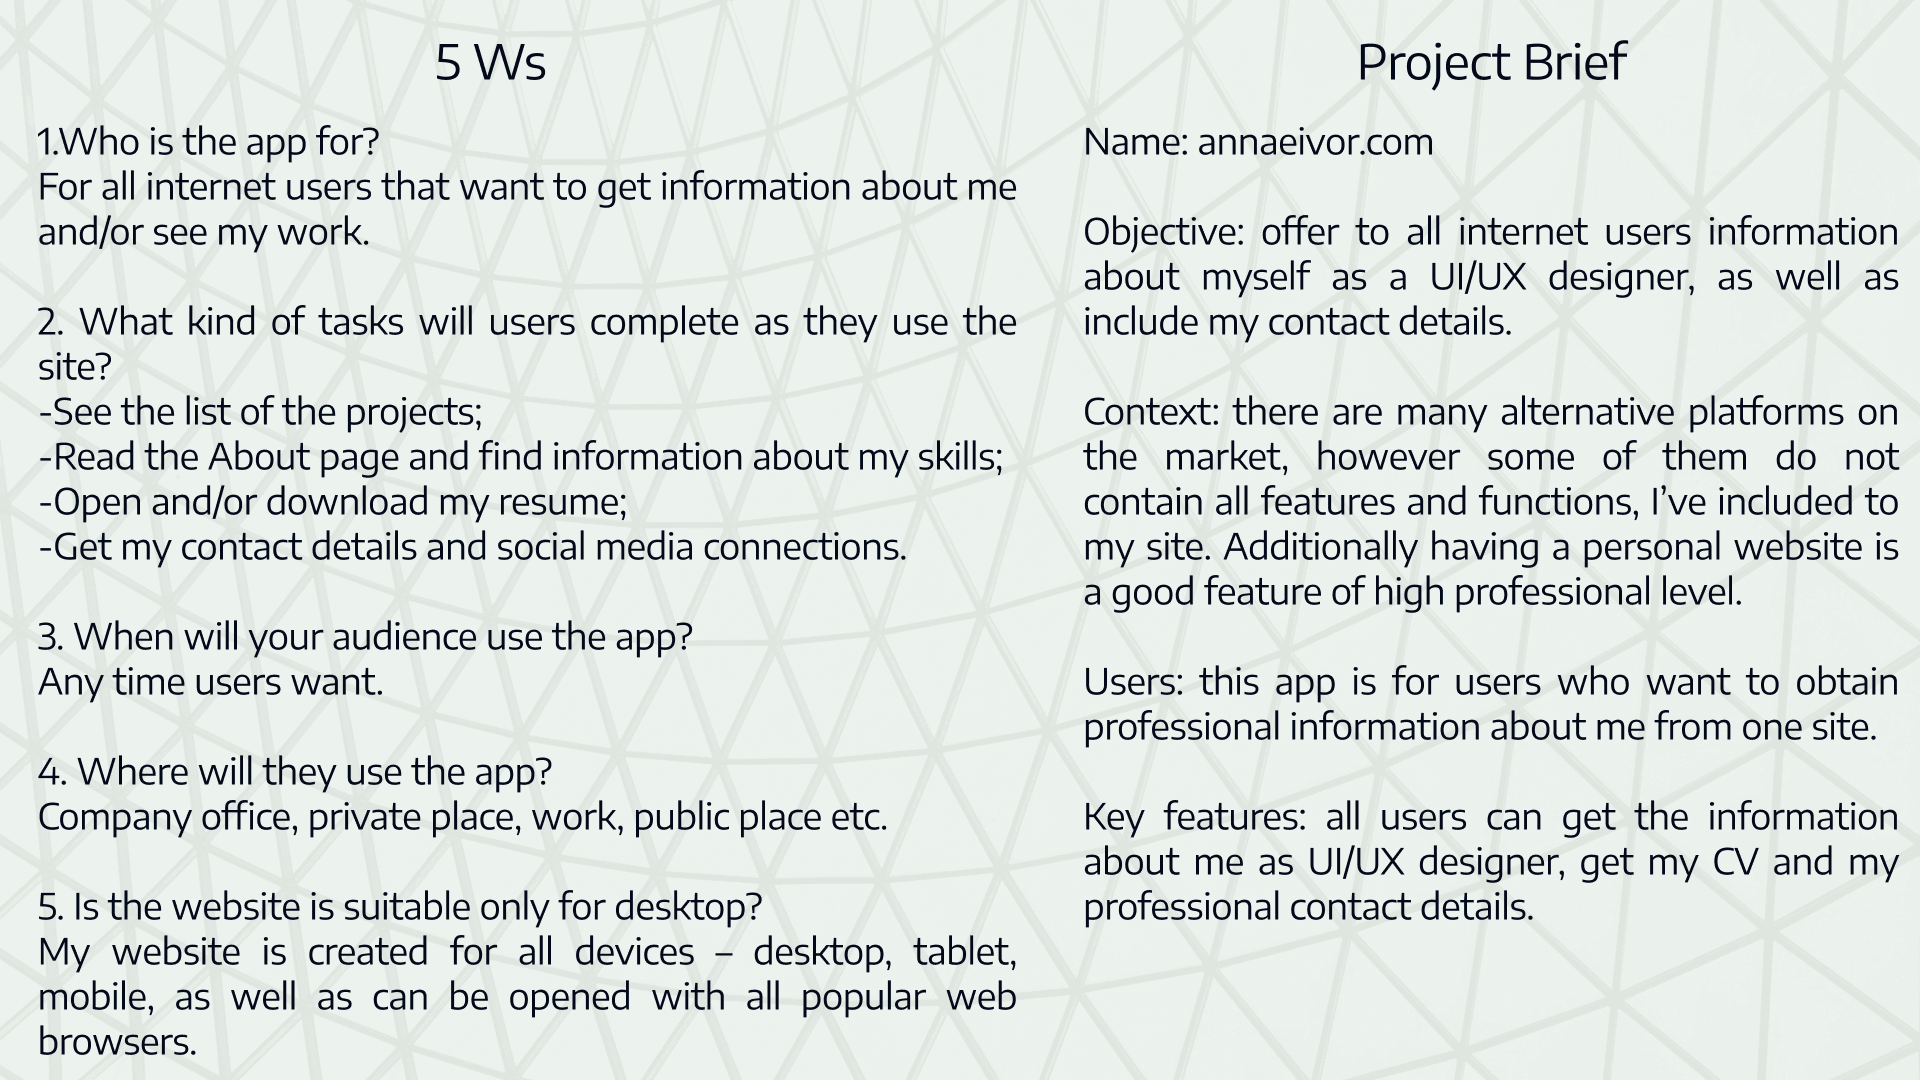
Project overview
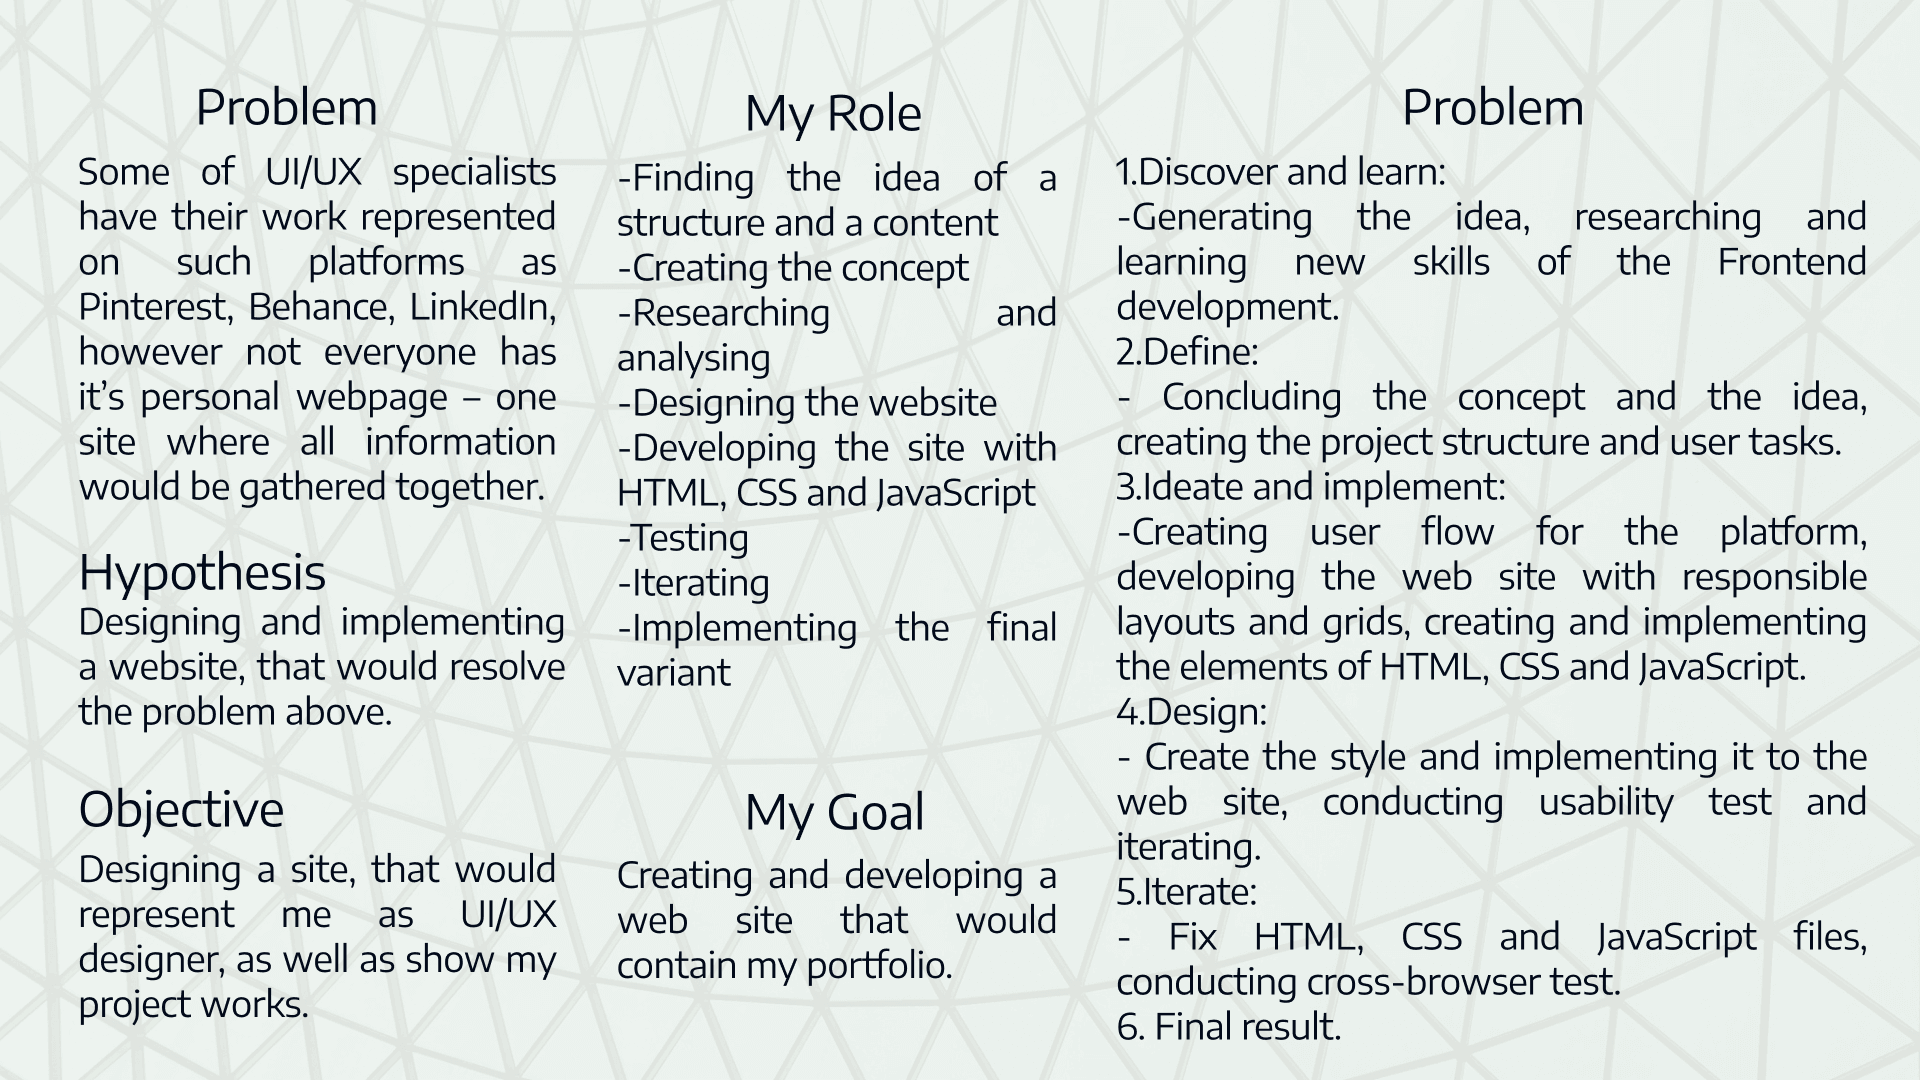
Project proposal
User Flow
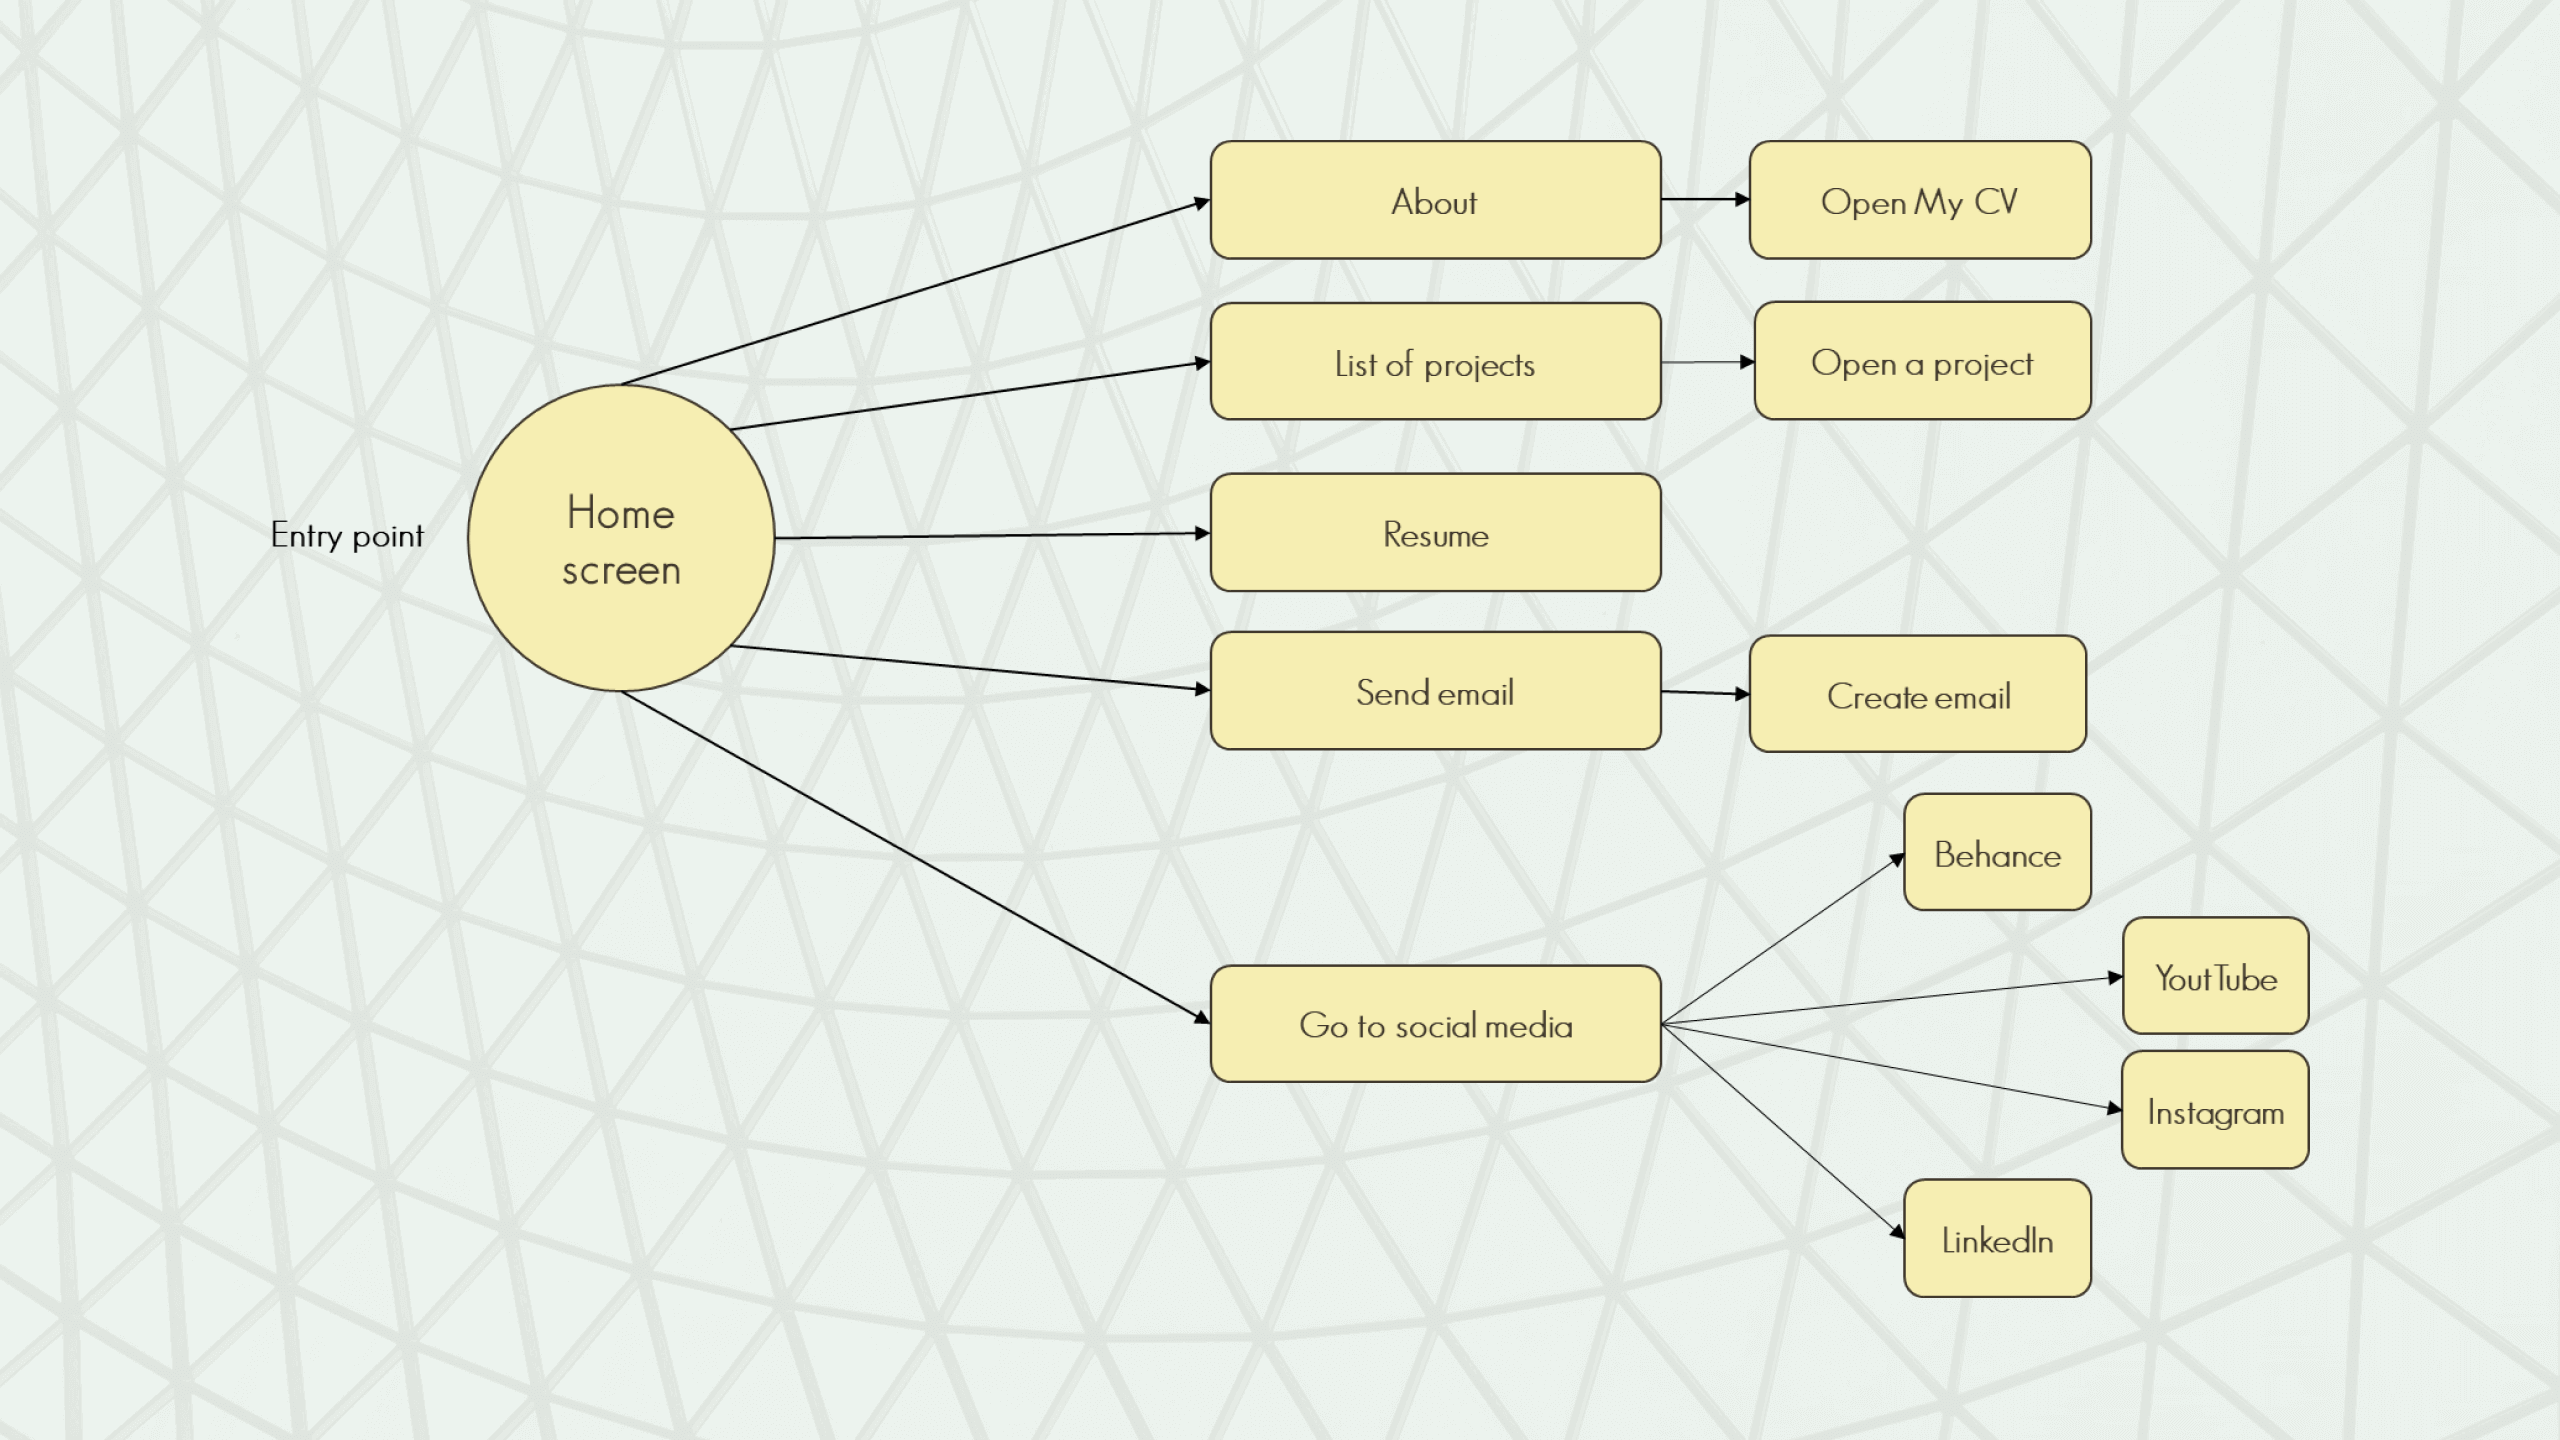
My next step was defining main functions of the website, its structure and thus the user flow.
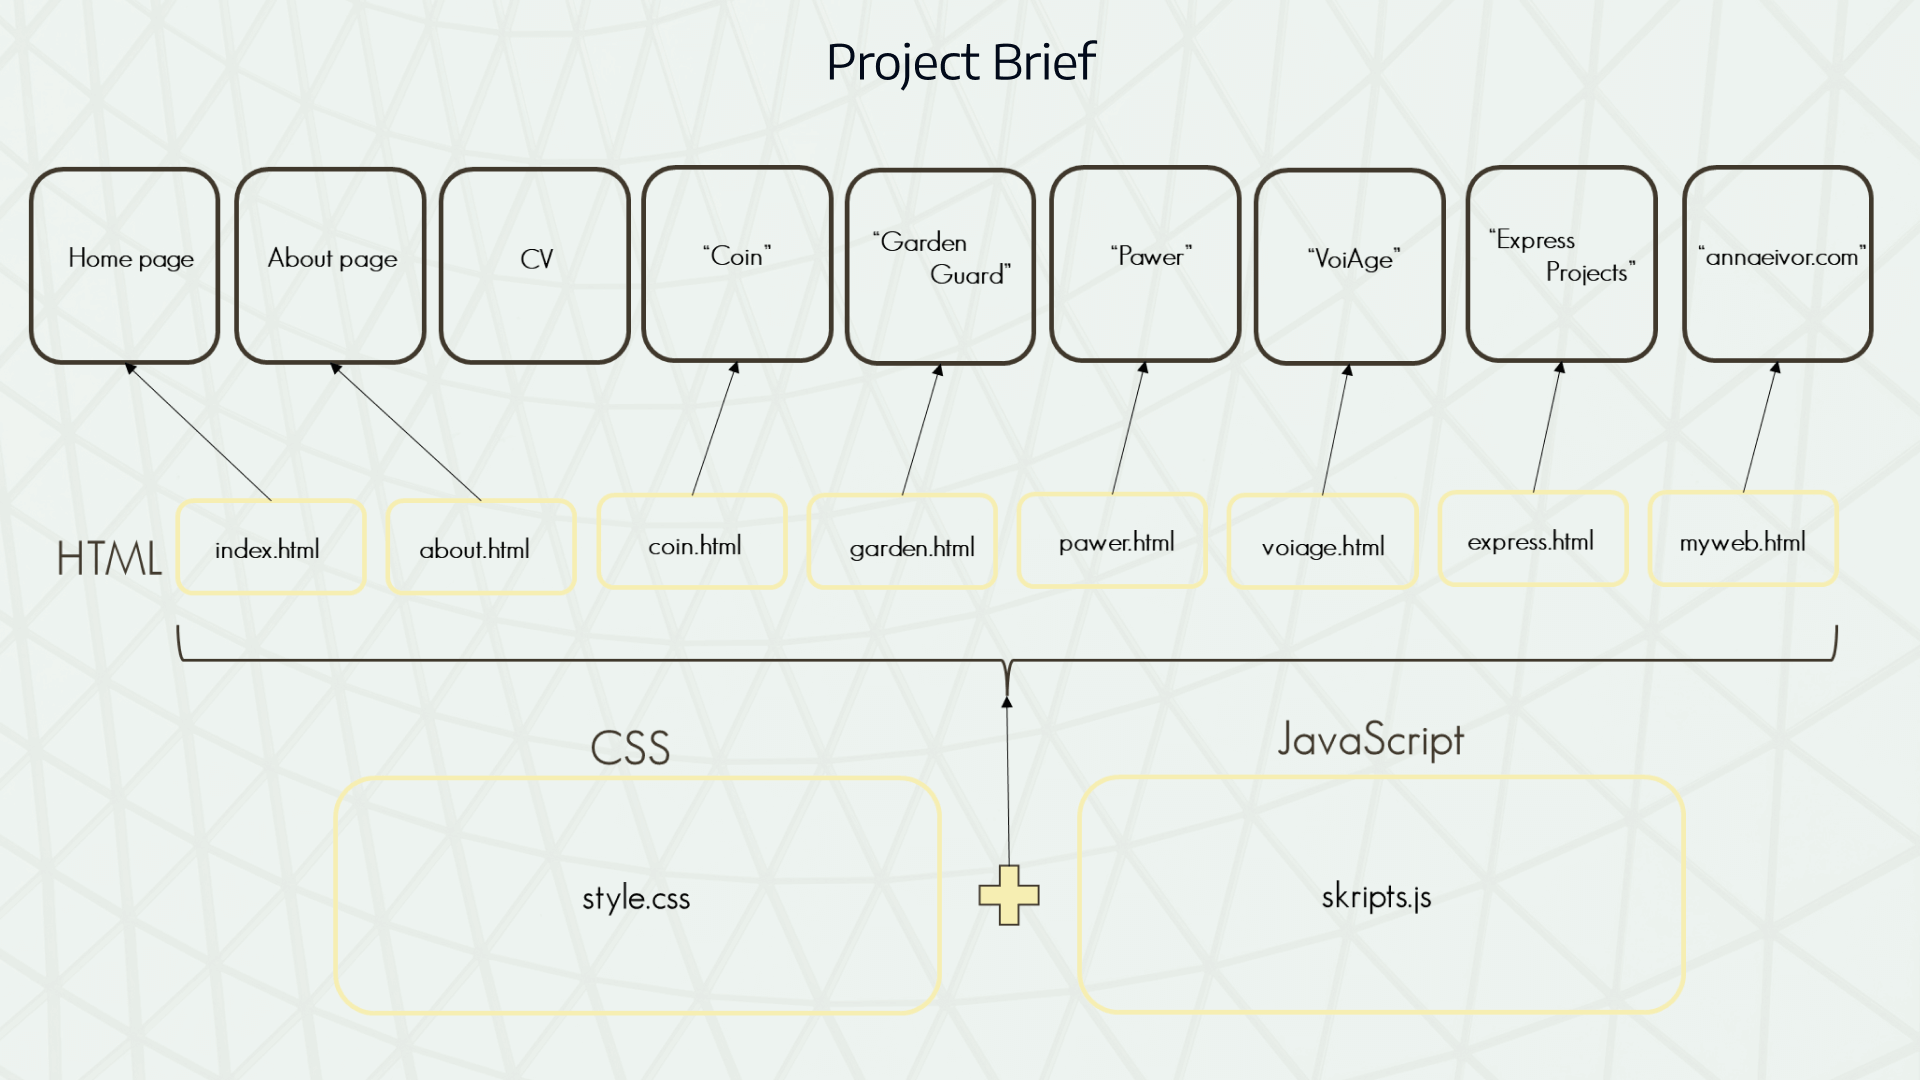
Website structure
After defining the user flow I have I implemented the structure of the web site to the visual variant, using HTML and CSS, then JavaScript. Below you can see how the website pages are connected to the development structure.
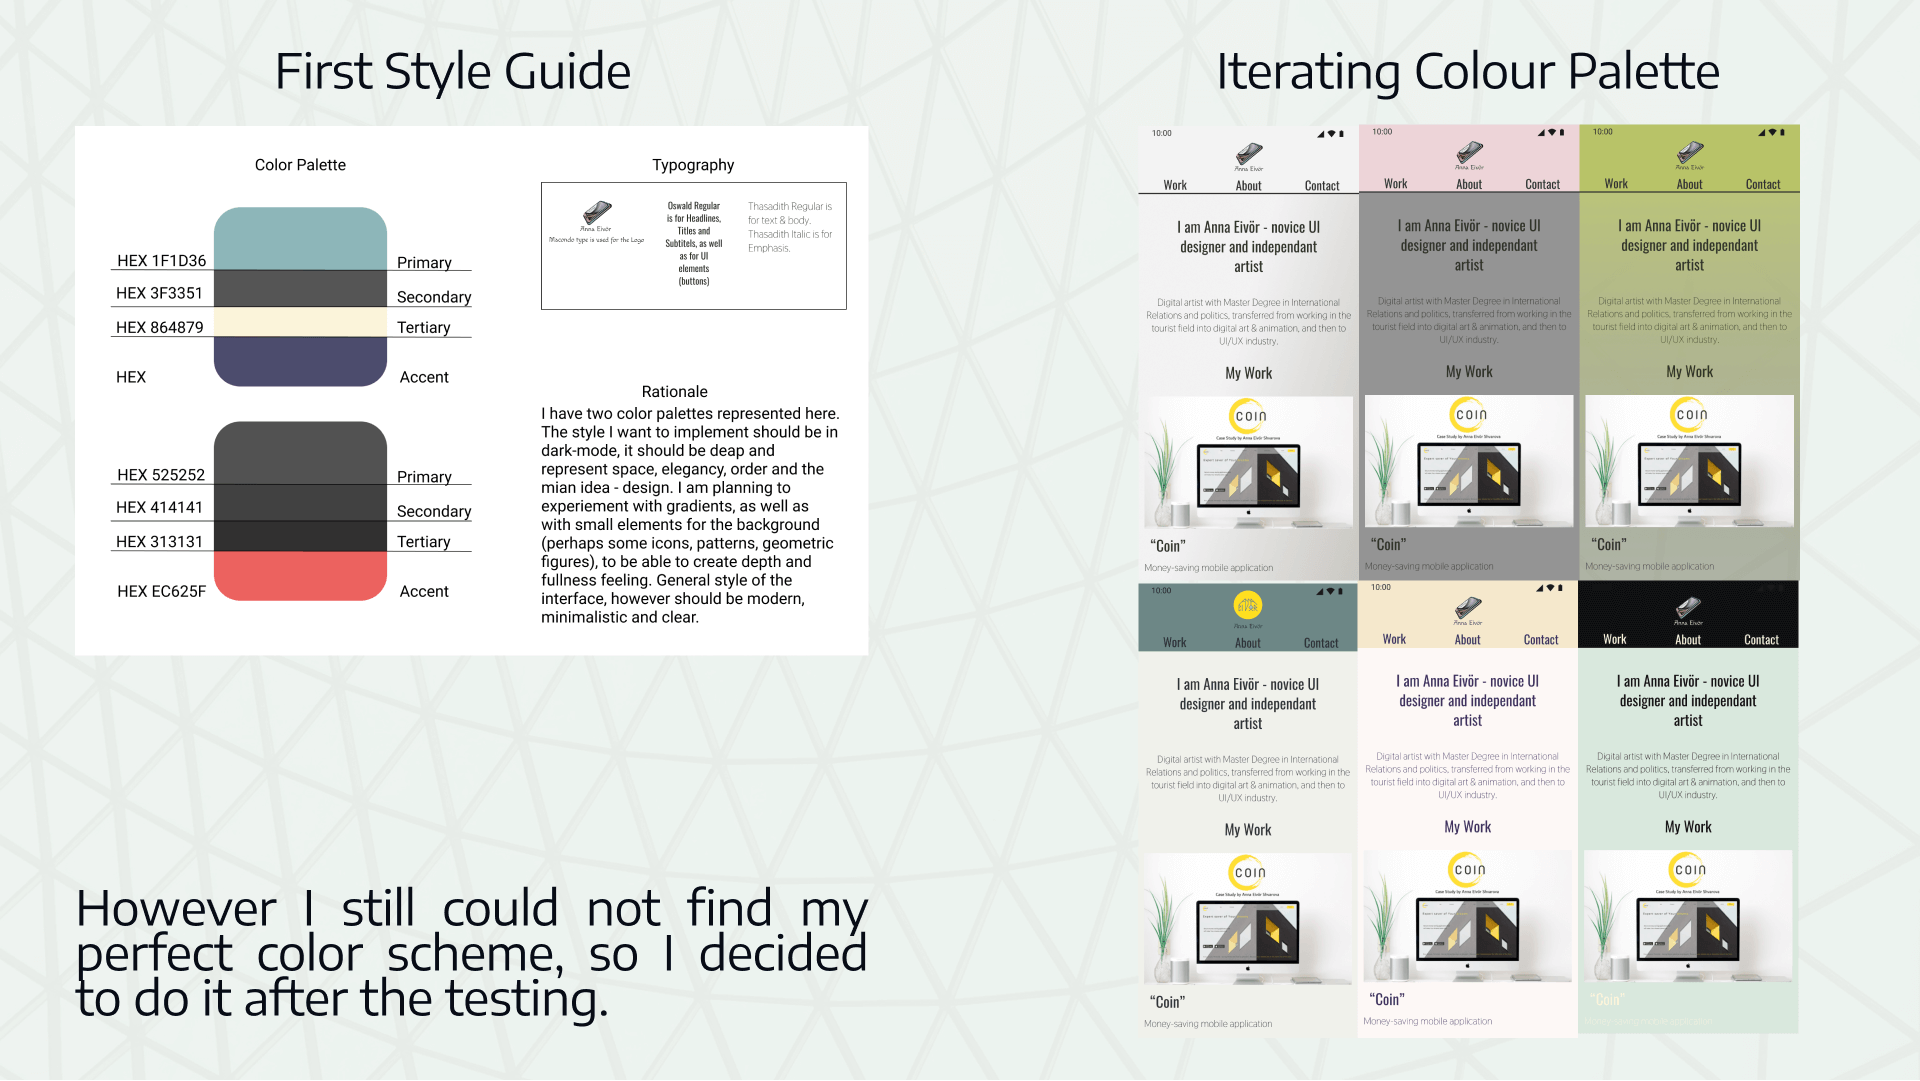
Creating a Style Guide and choosing Typography
To be able to make my website even more alive, I needed to chose its style with a color palette. After experimenting with monochromic, dynamic, gradient and other color sets, I decided temporarily chose blue-gray scheme and Oswald font family.
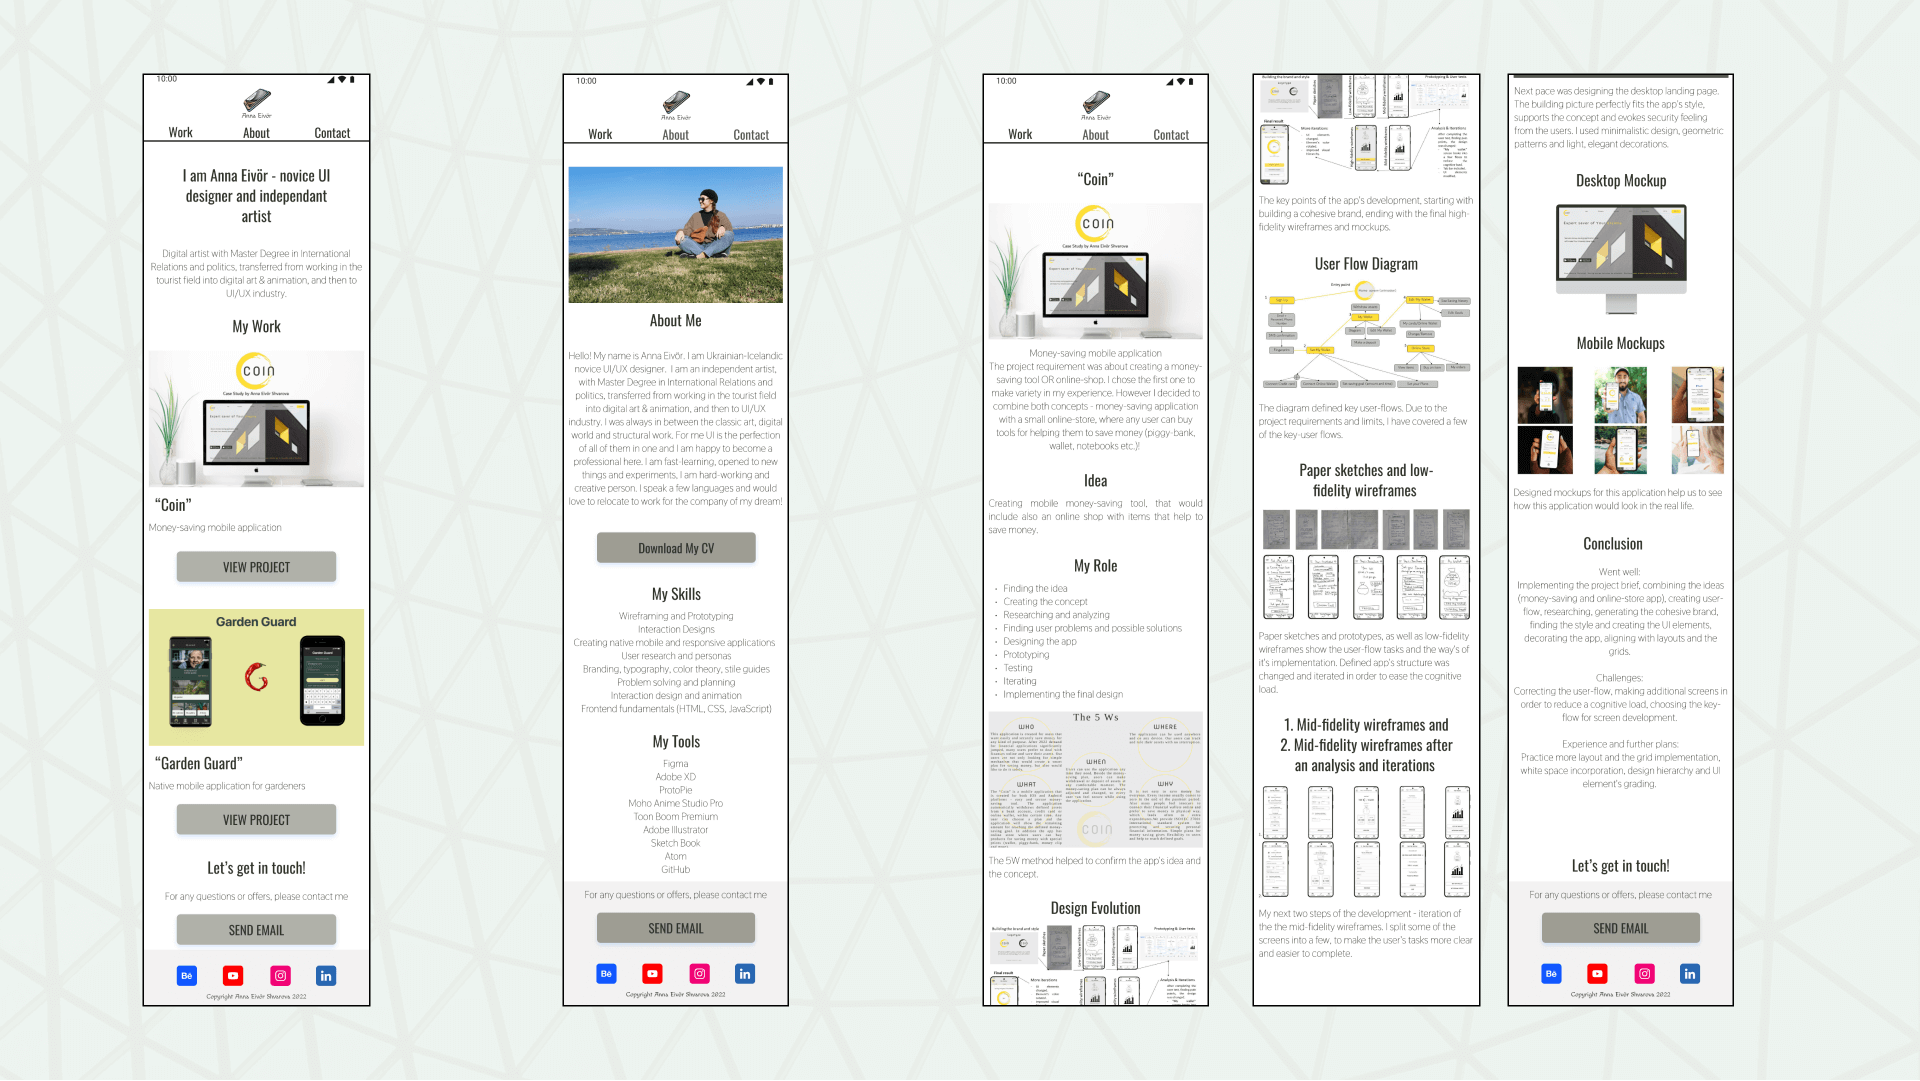
Building mid-fidelity wireframes
During the next pace I implemented the website structure to these middle fidelity wireframes, creating UI elements and choosing right layout. I started this process with Mobile-first approach, to be able then to build a responsive website.
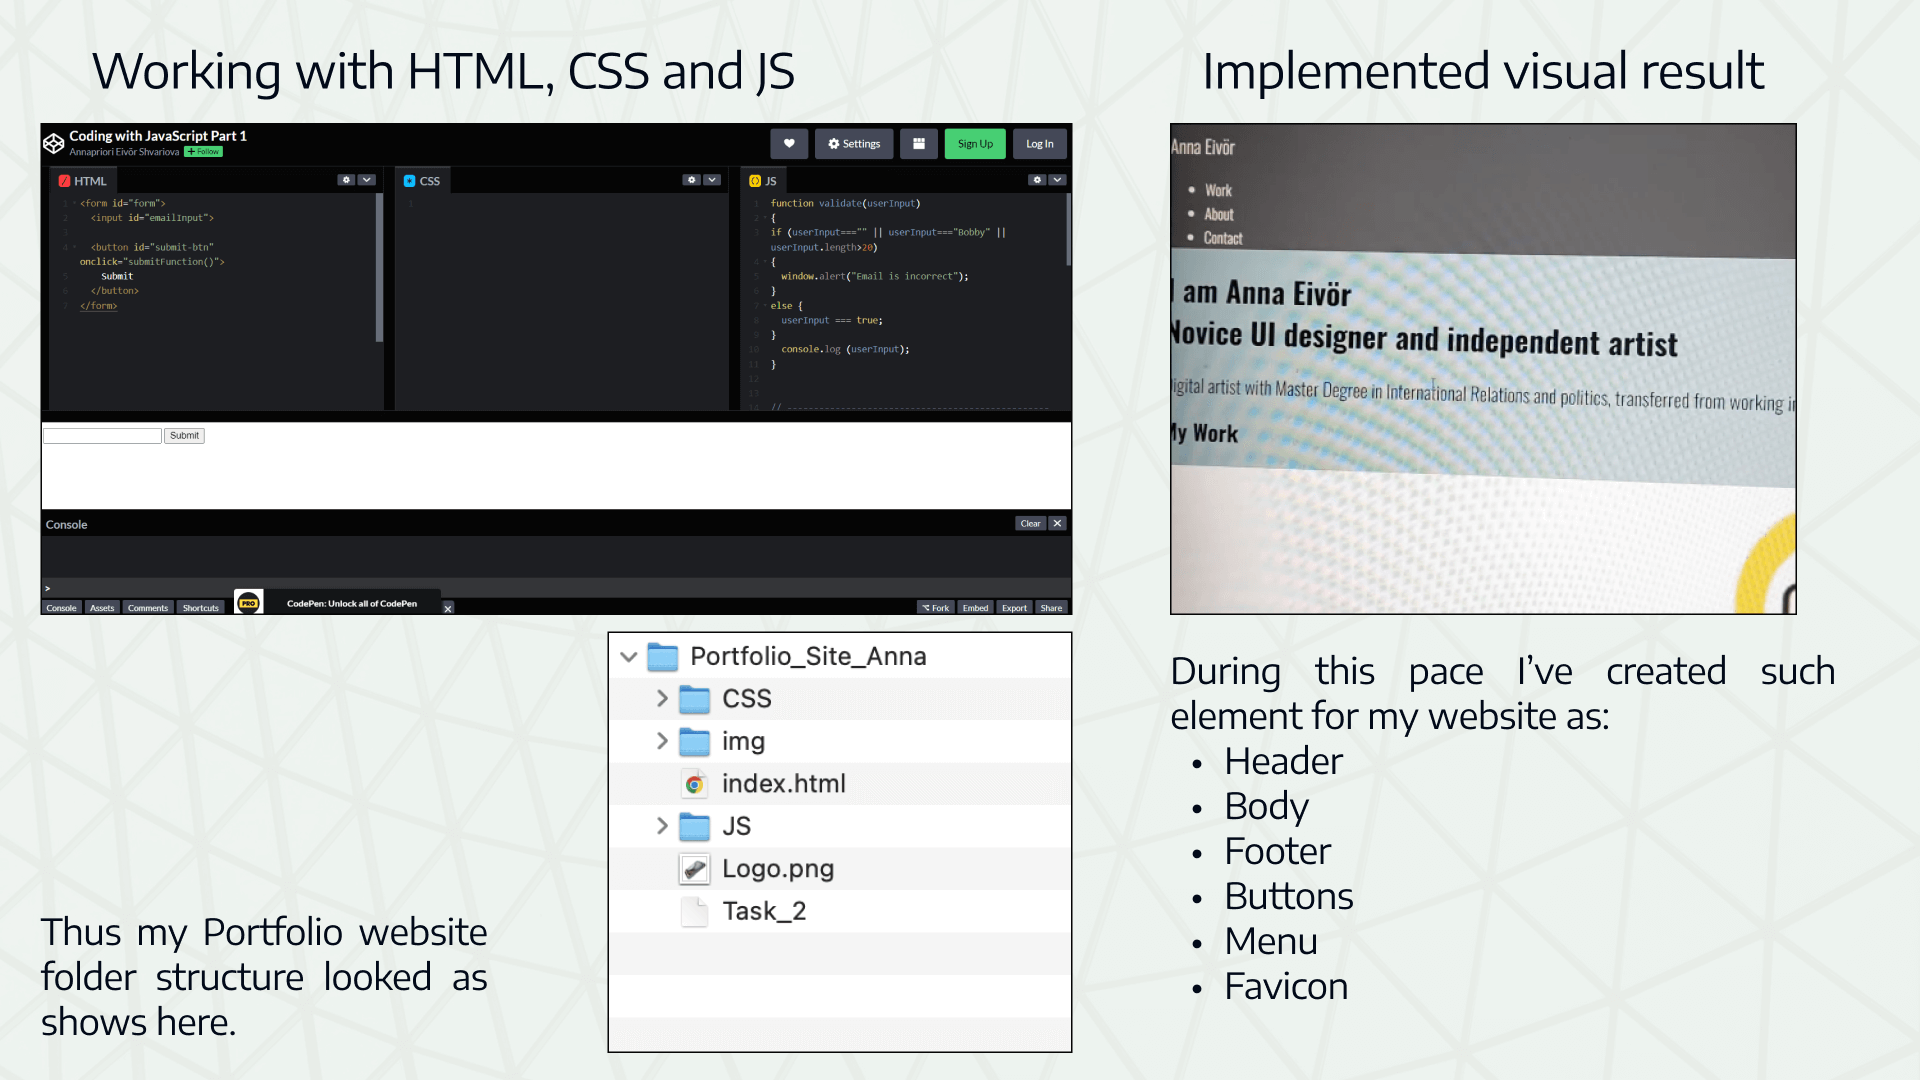
Frontend Development
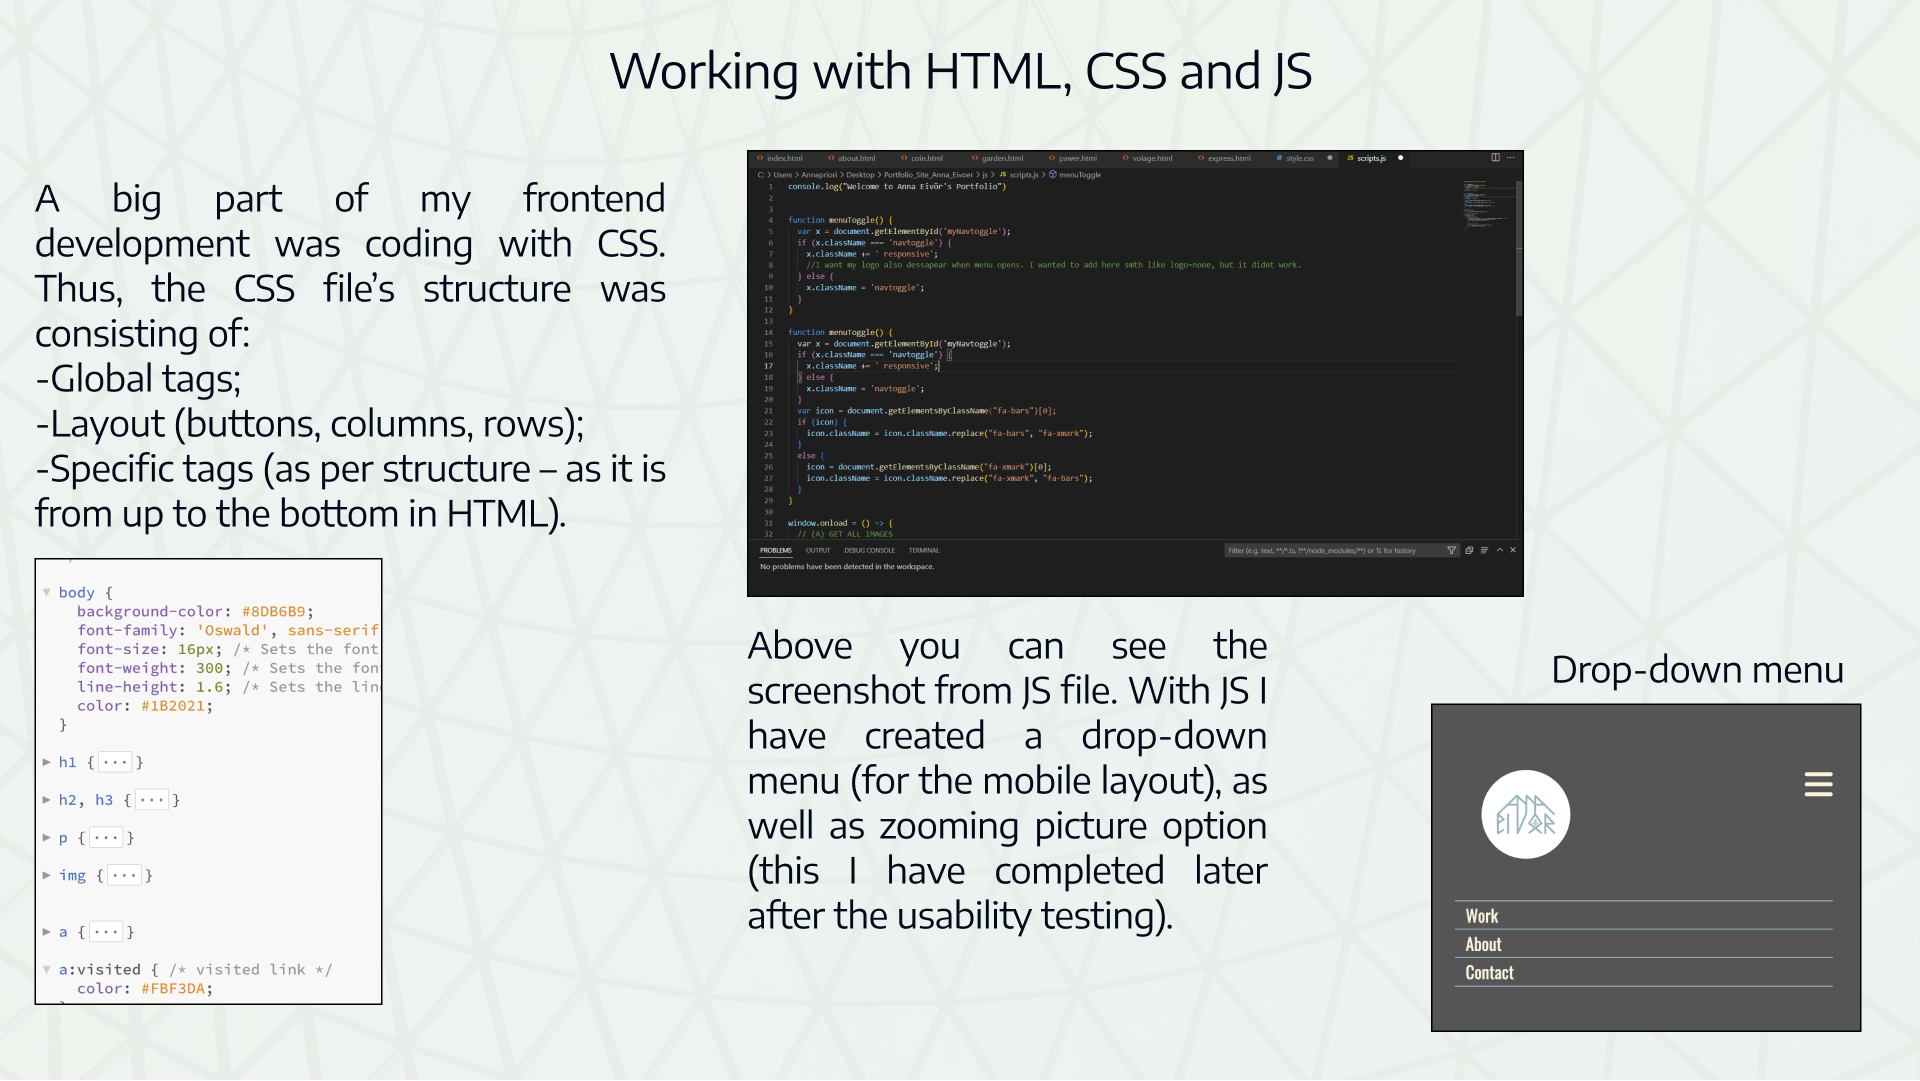
The next steps included practicing of coding with HTML, CSS and JS. I was using Codepen for learning and Atom for developing my web site.
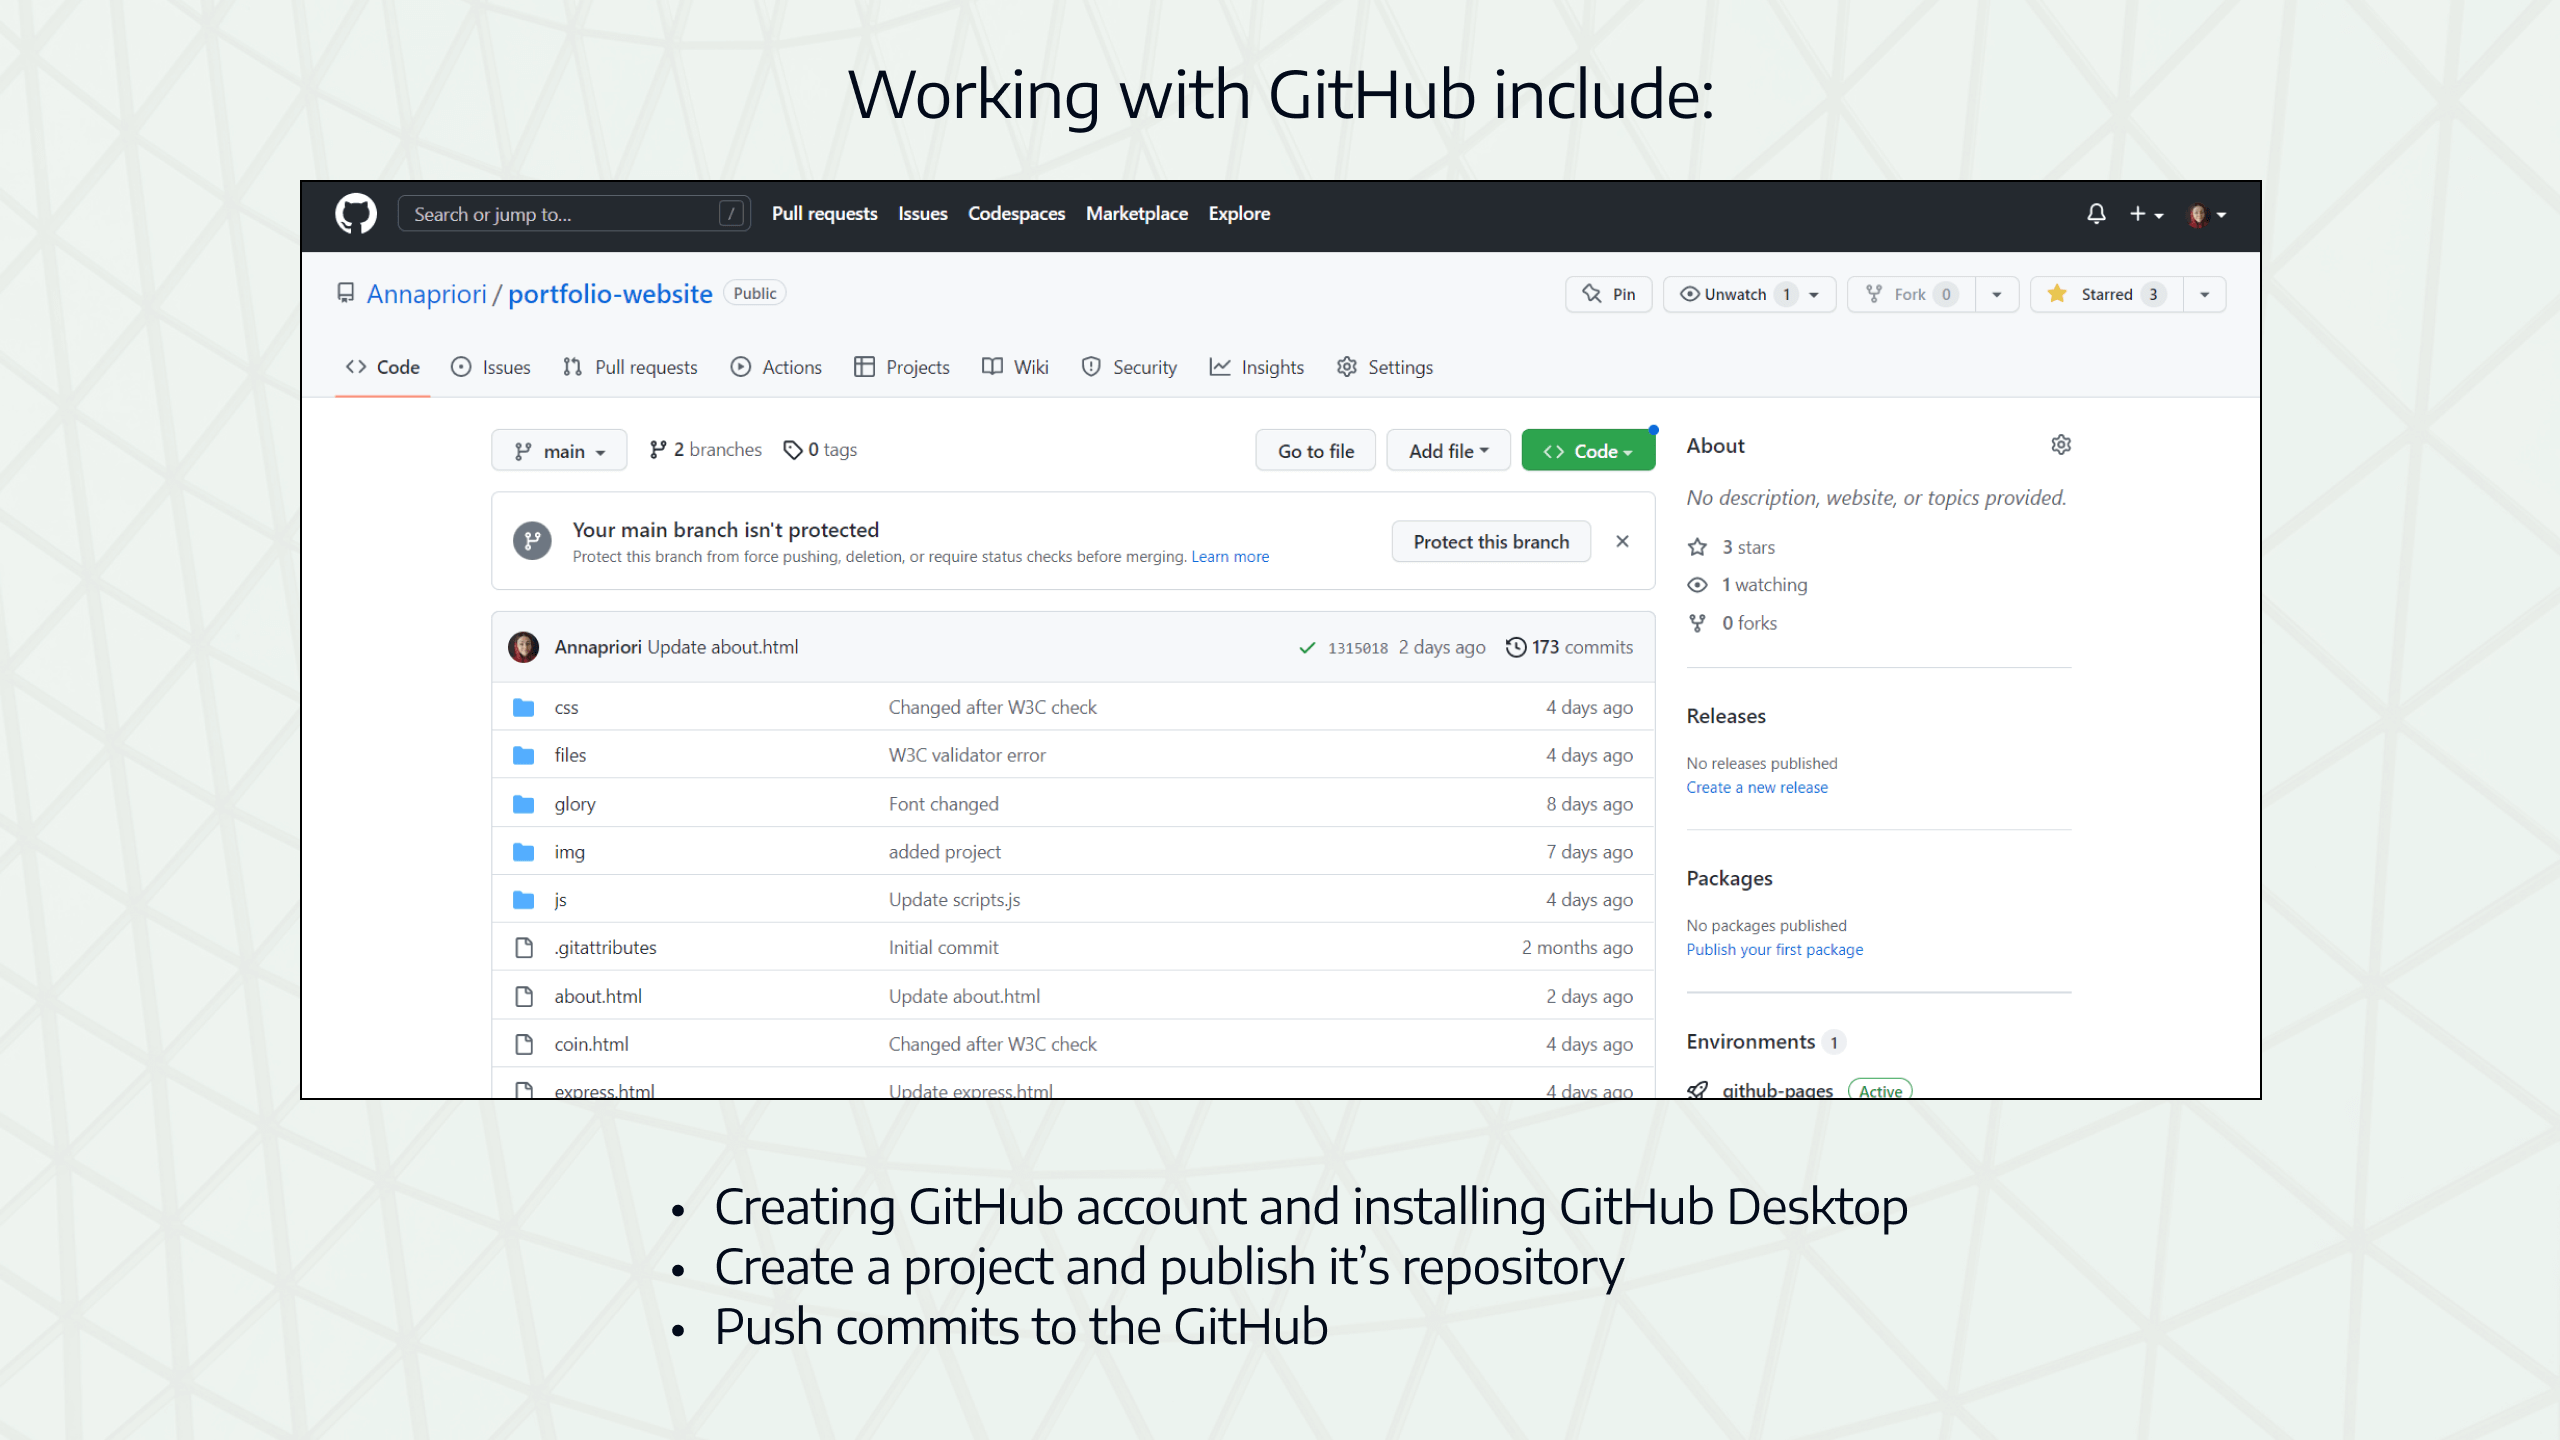
GitHub
Using GitHub helped me to save all changes and track the website development, as well as it allowed me to make my project published.
CSS and JavaScript
Creating CSS layouts for the responsible design
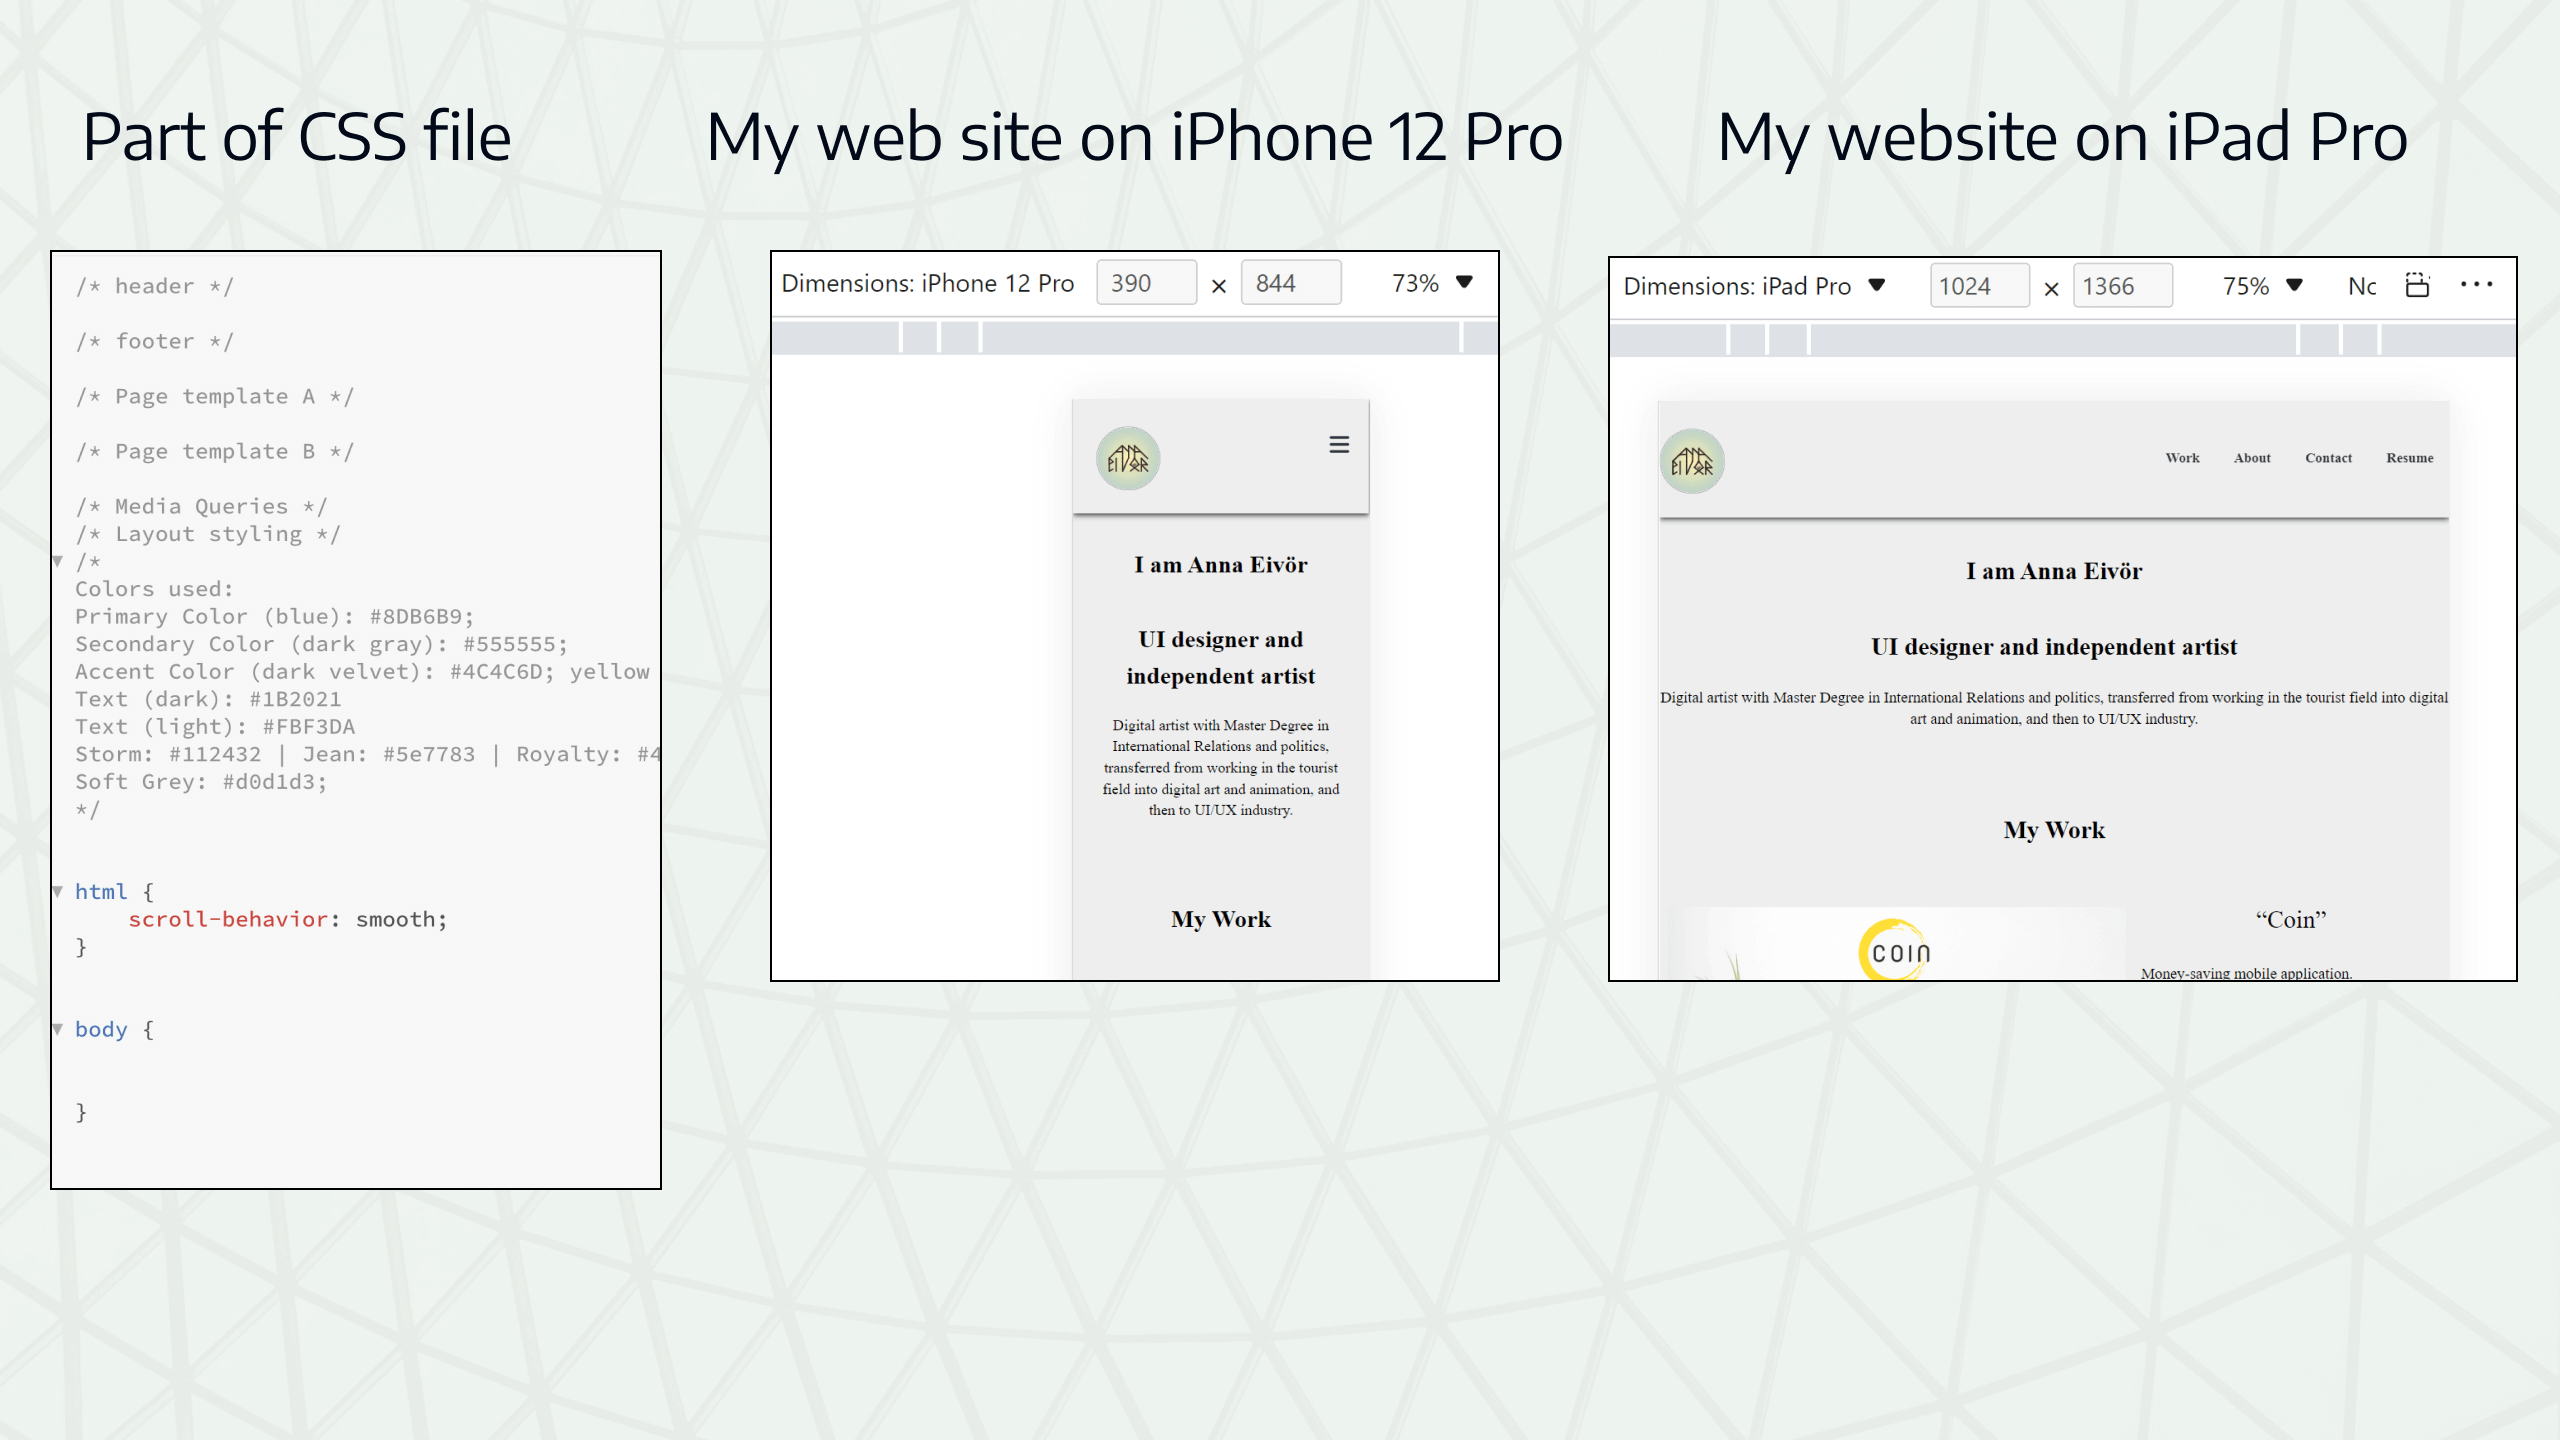
I included Media Queries to my CSS, to be able to define the layout and parameters for different device sizes. It allowed me to define screen breakpoints, as well as to create responsive design for my web site. I have used 2-column layout and Flexbox grid.
Creating animation in CSS
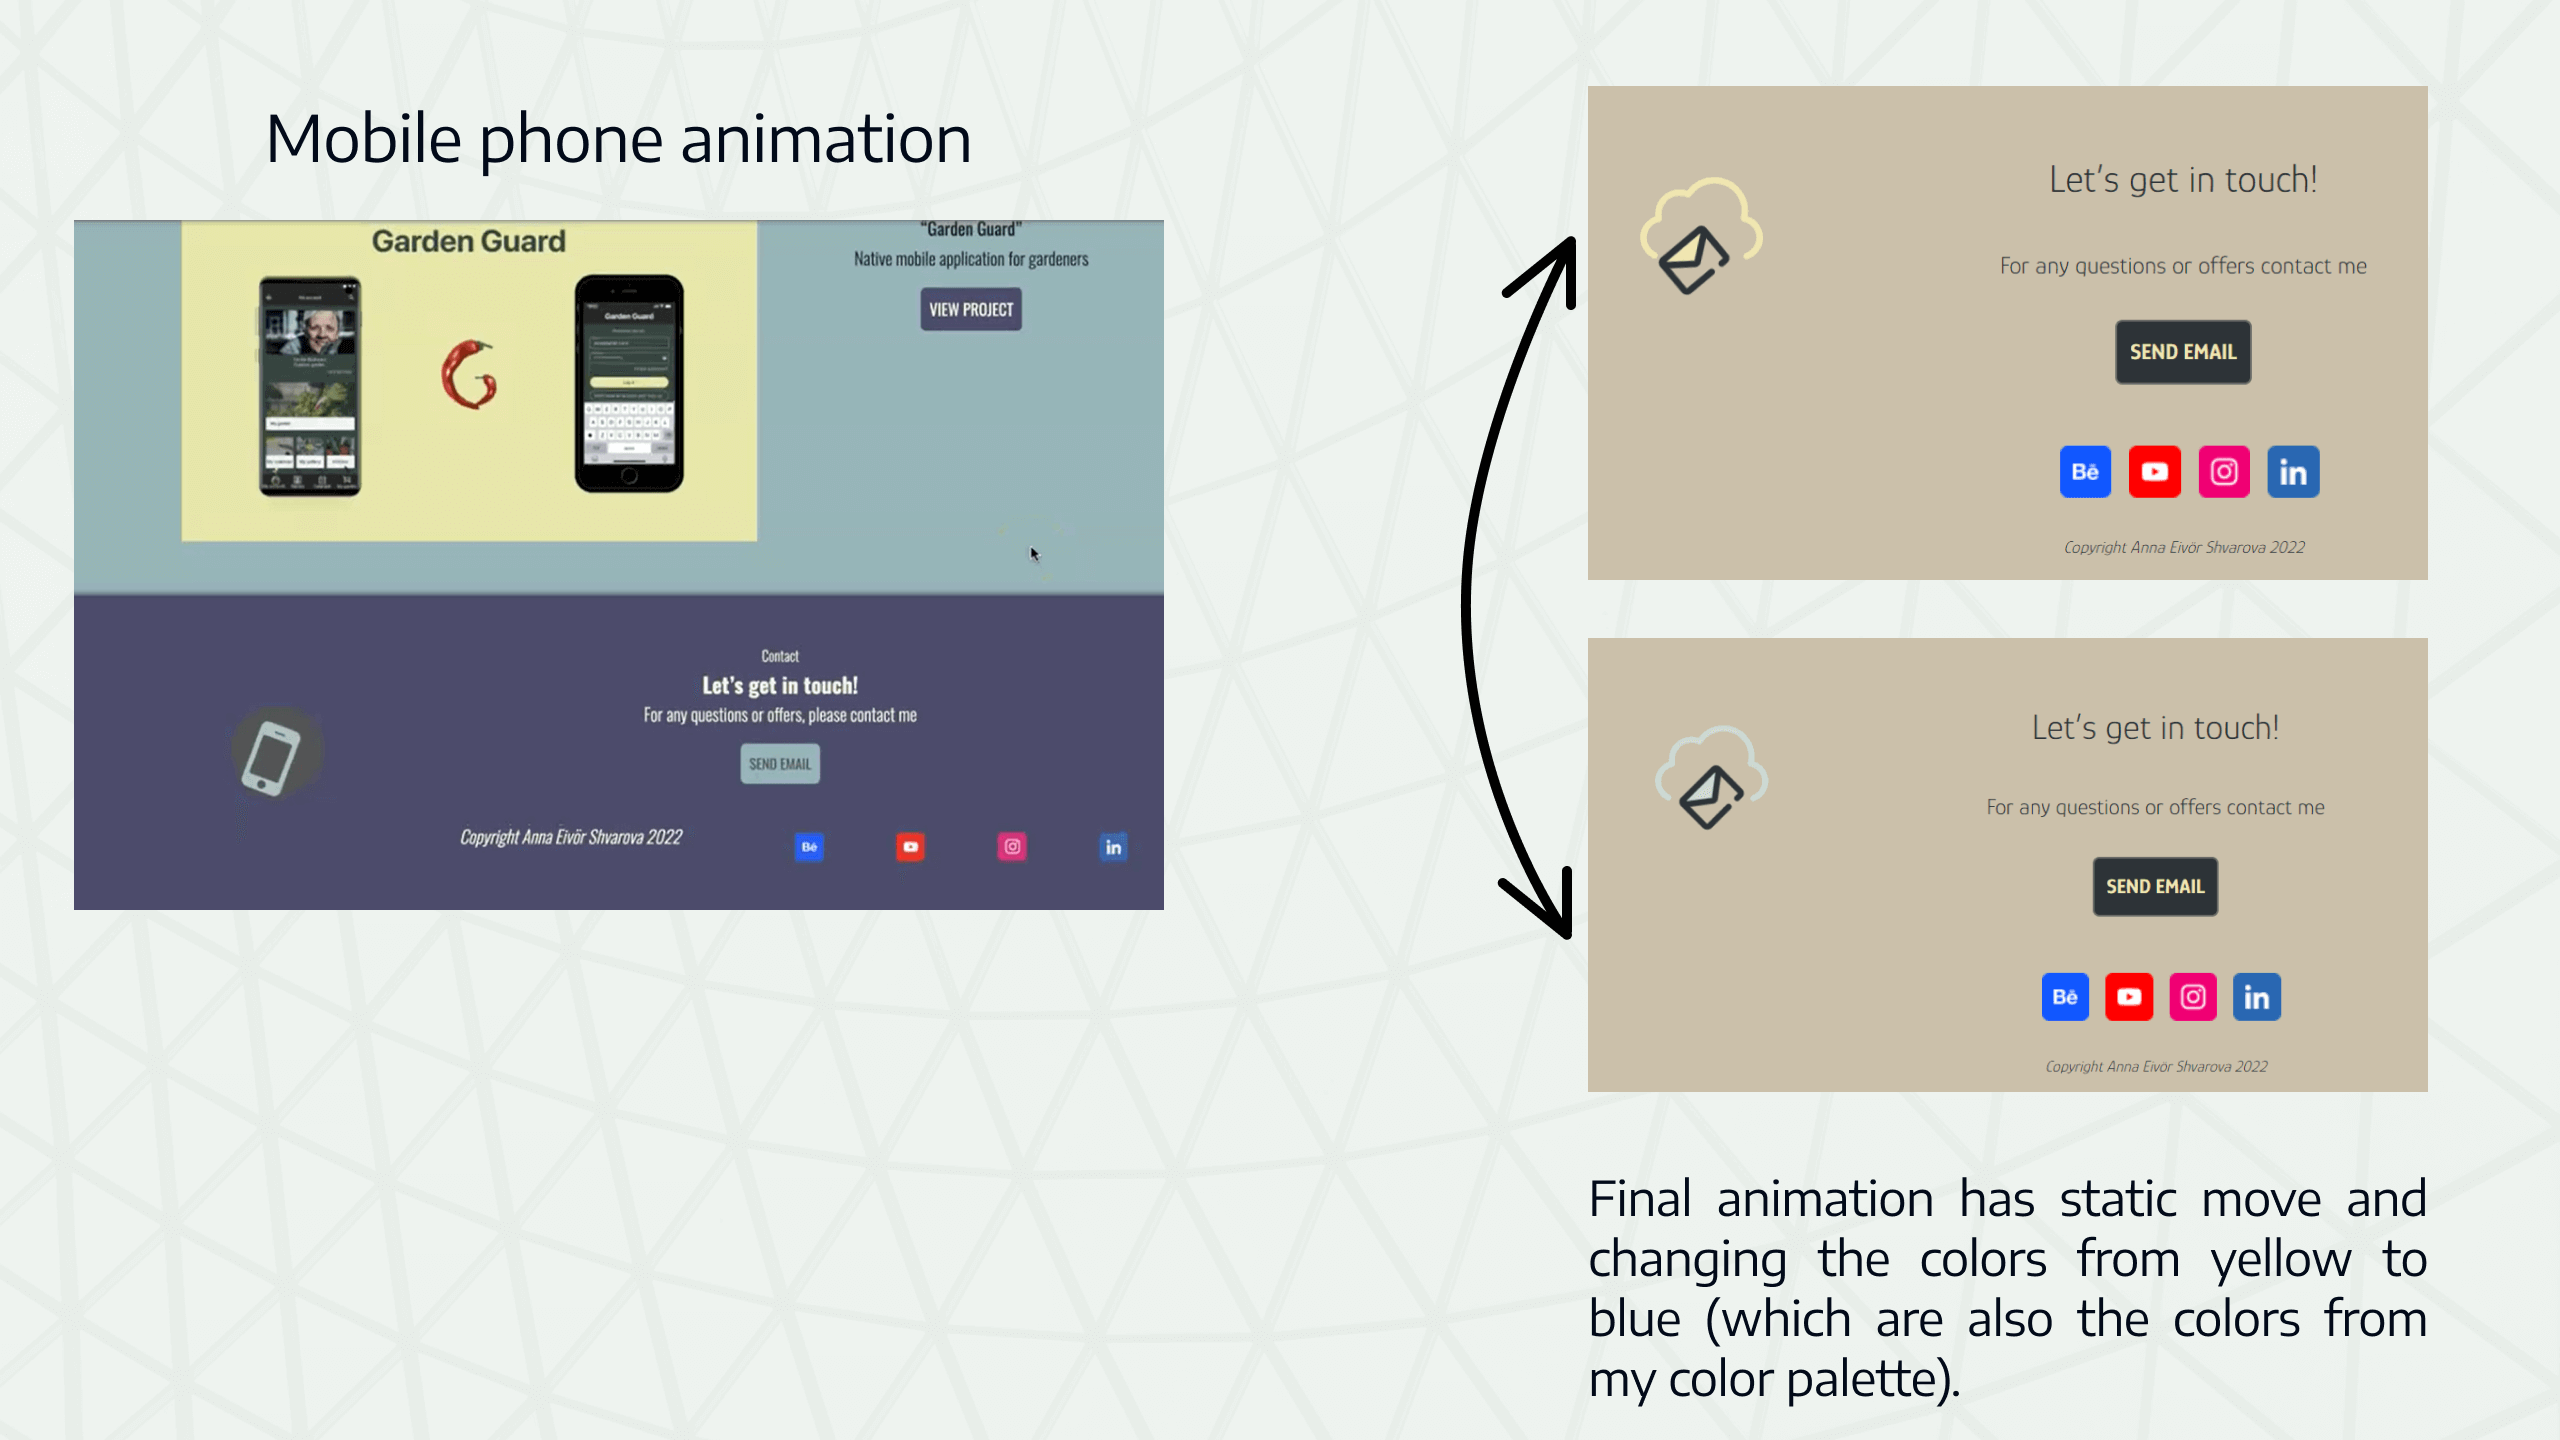
To make my website pleasant and interesting to use I decided to make a small animation, using CSS. First option of the animation was the mobile telephone form, that was changing colors and moving. However later on I changed it to a small cloud with email in it, which would represent offered connection with me better.
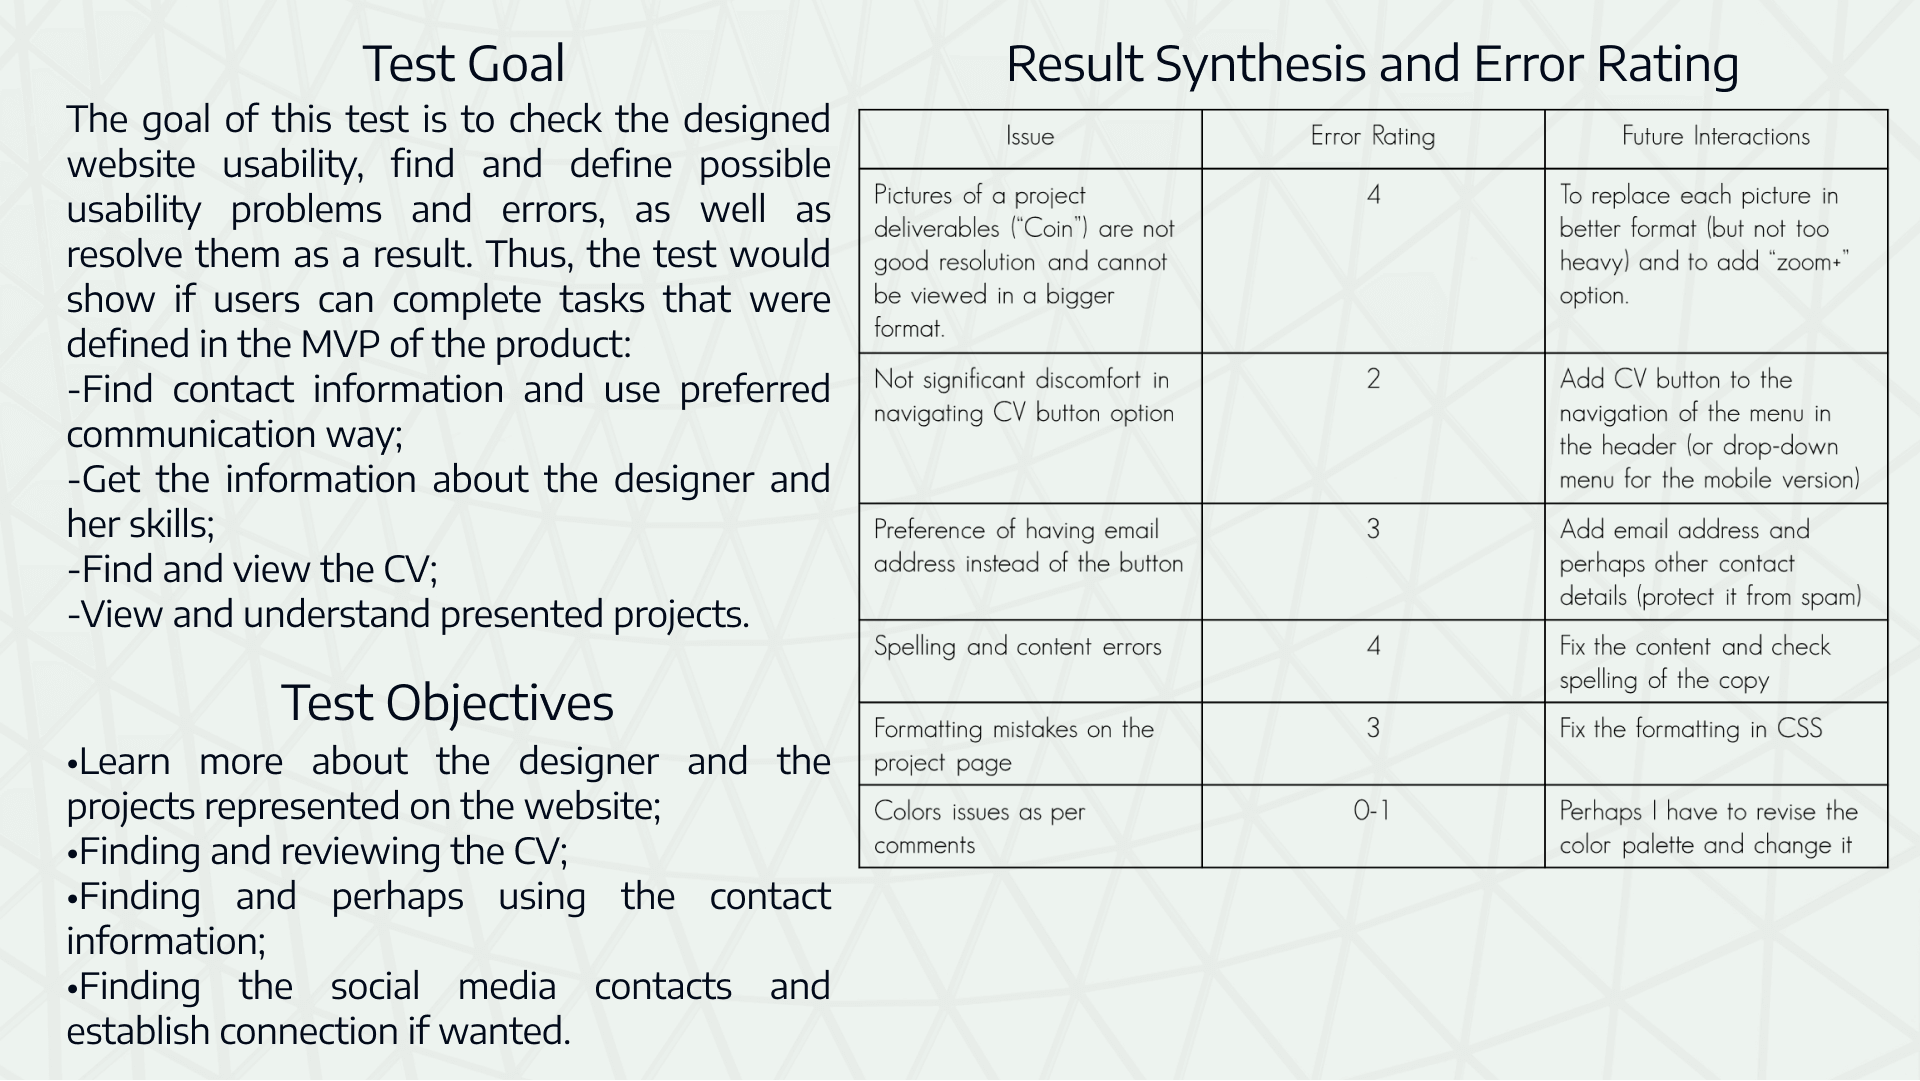
Usability Test
Next step was conducting the Usability test, which would allow me to reveal usability errors and design mistakes.
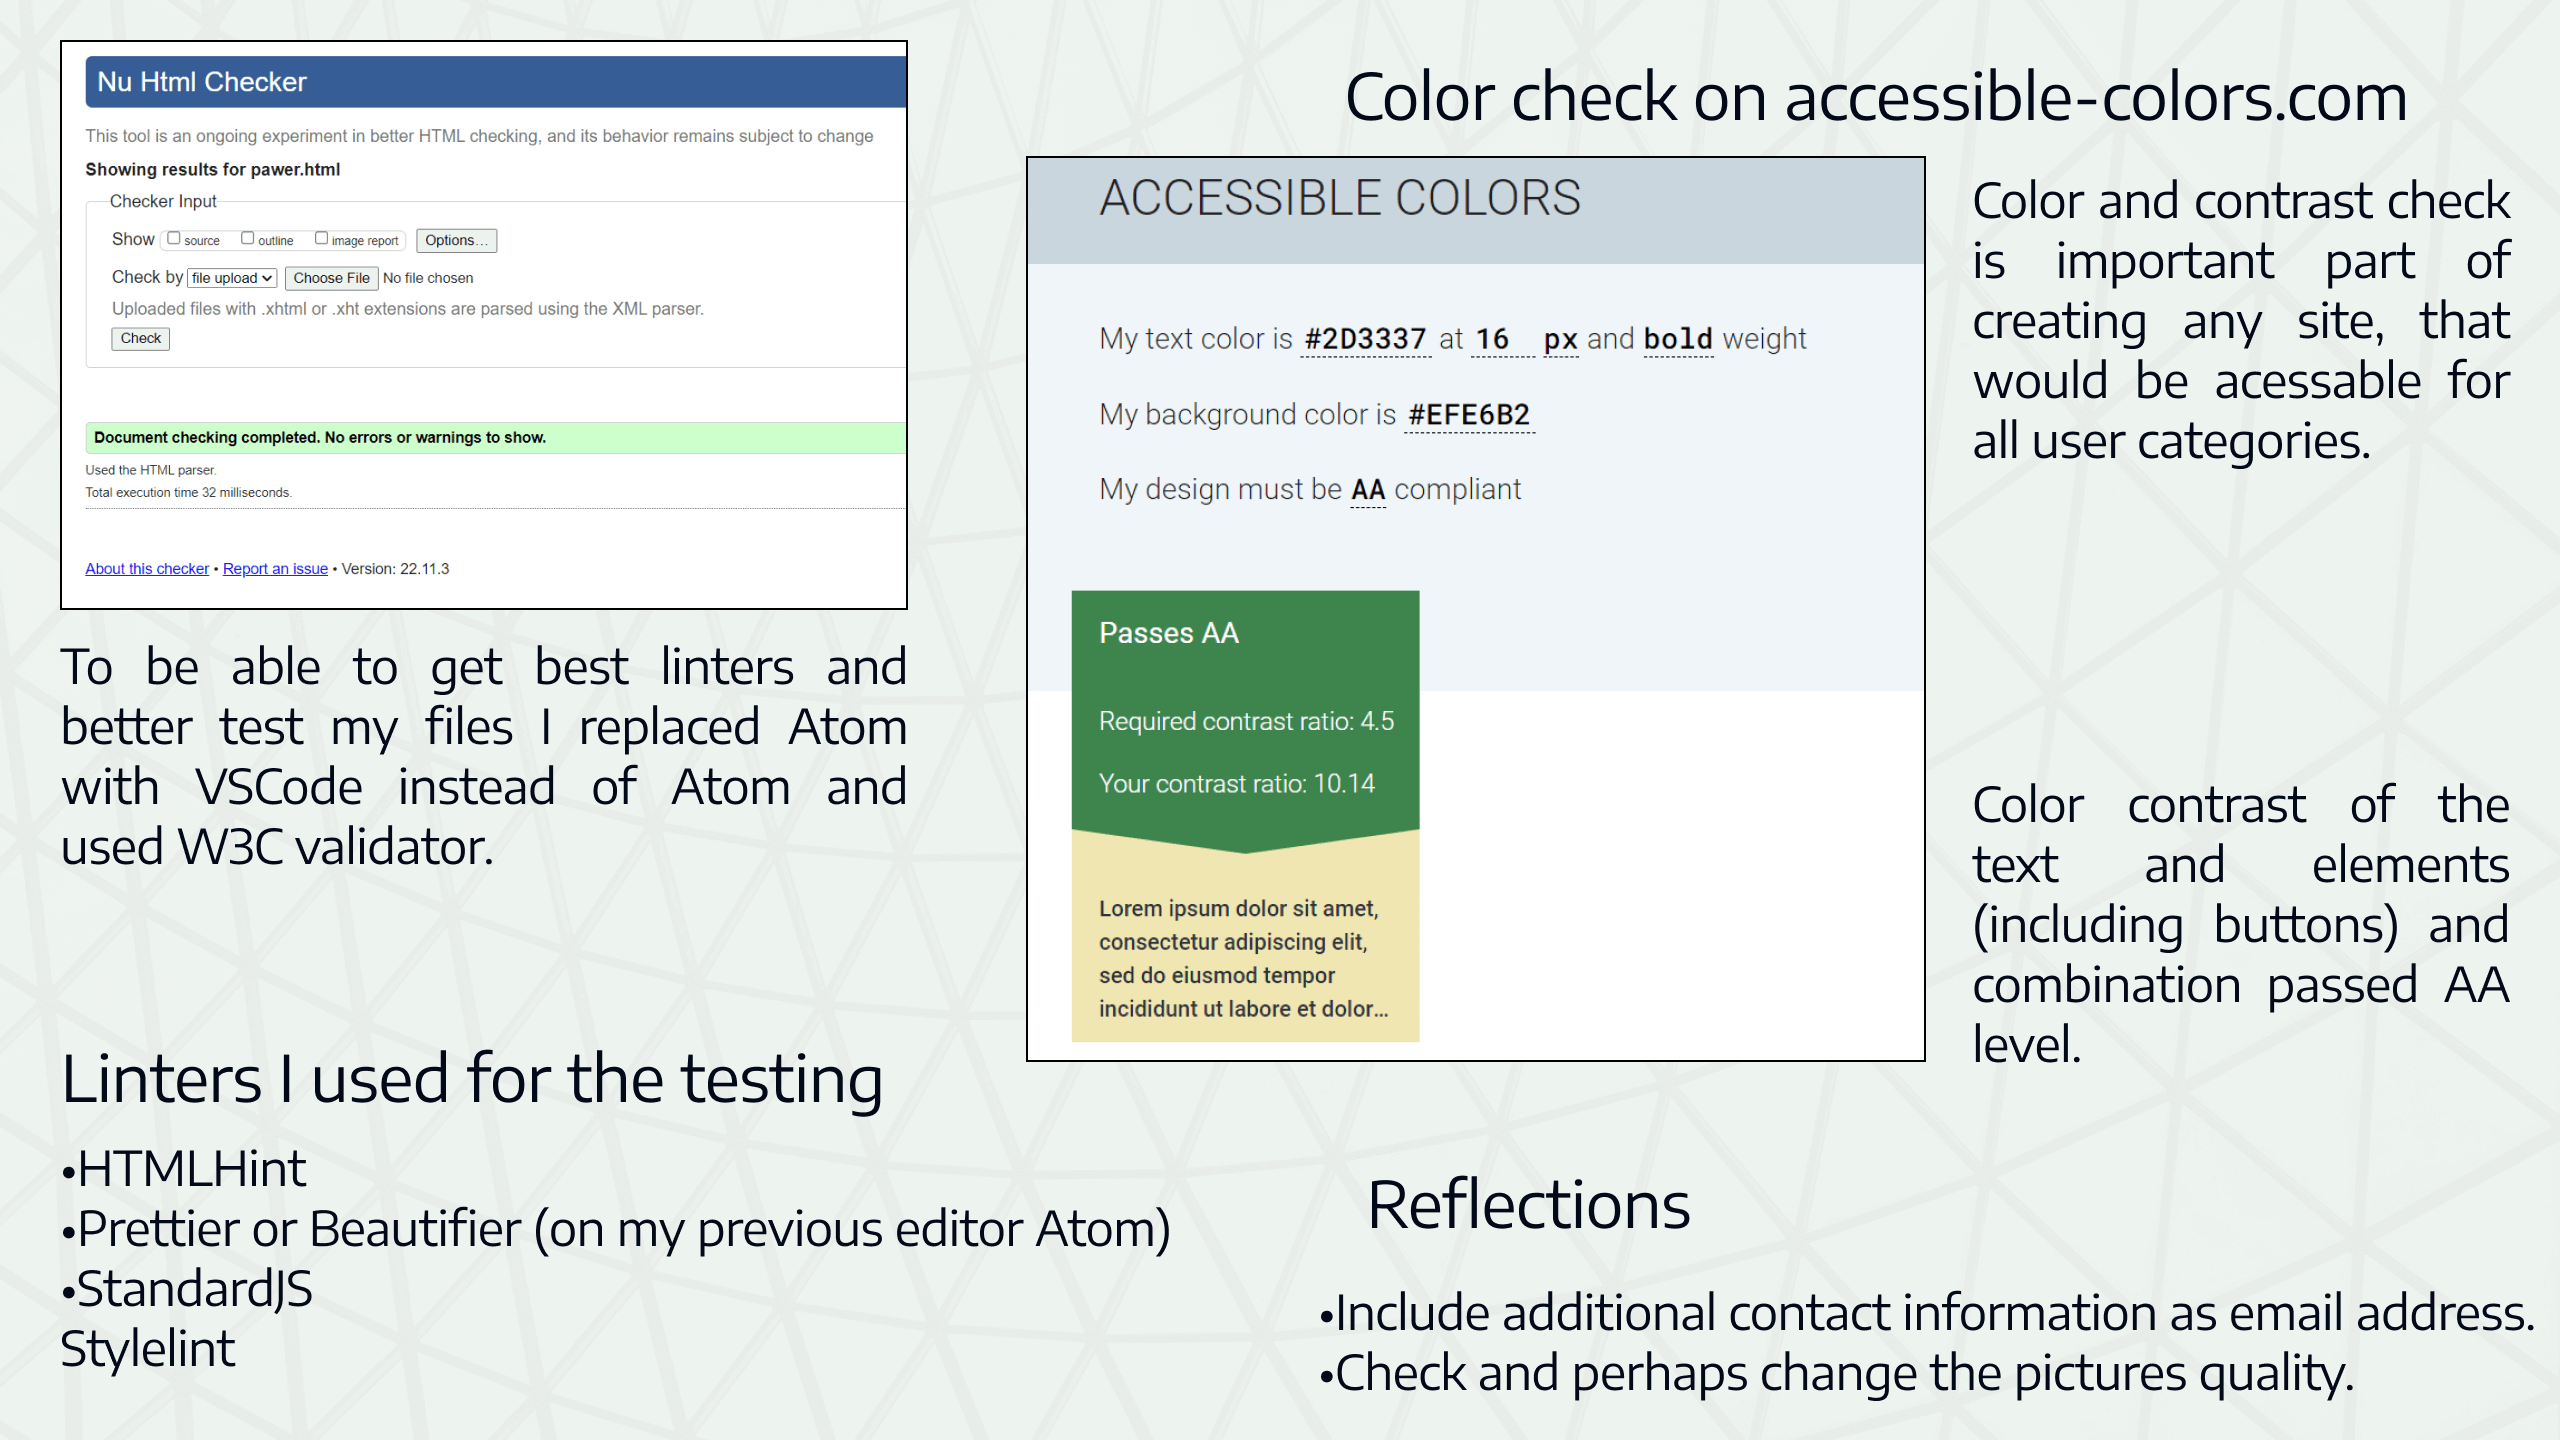
Code Quality and Cross Browser Testing
Final testing pace included checking the coding files and test my site on different devices and browsers.
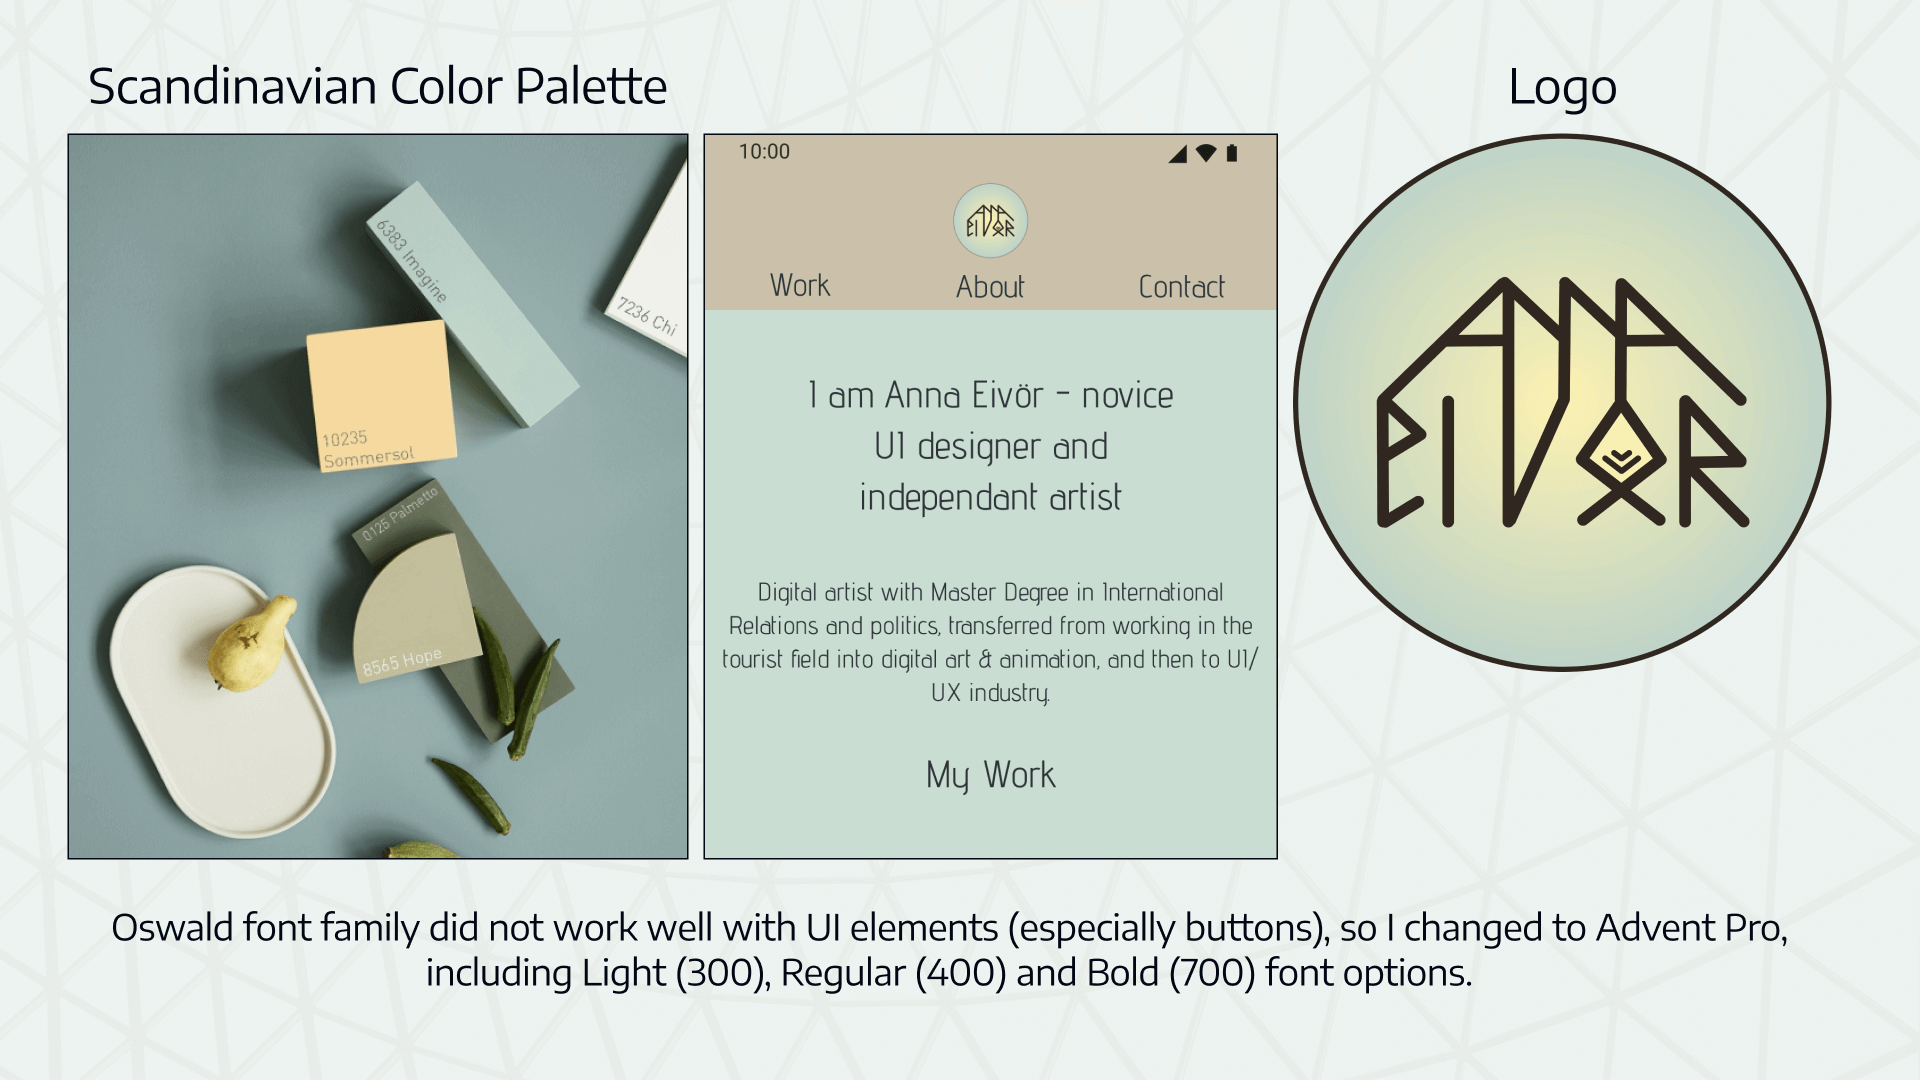
Design Evolution
Final design included:
New color palette. I decided to use Scandinavian ,minimalistic style, that would support my personality and the logo style;
New font family - Advent Pro;
New logo style, representing my name, written with “runic-like” letters
Reflections
Went well:
Finding idea, creating concept and structure, testing, designing.
Challenges:
Creating responsive layouts, achieving website frontend development, using HTML, CSS and JavaScript.
Experience:
Lear more HTML, CSS and JavaScript syntaxis and patterns.